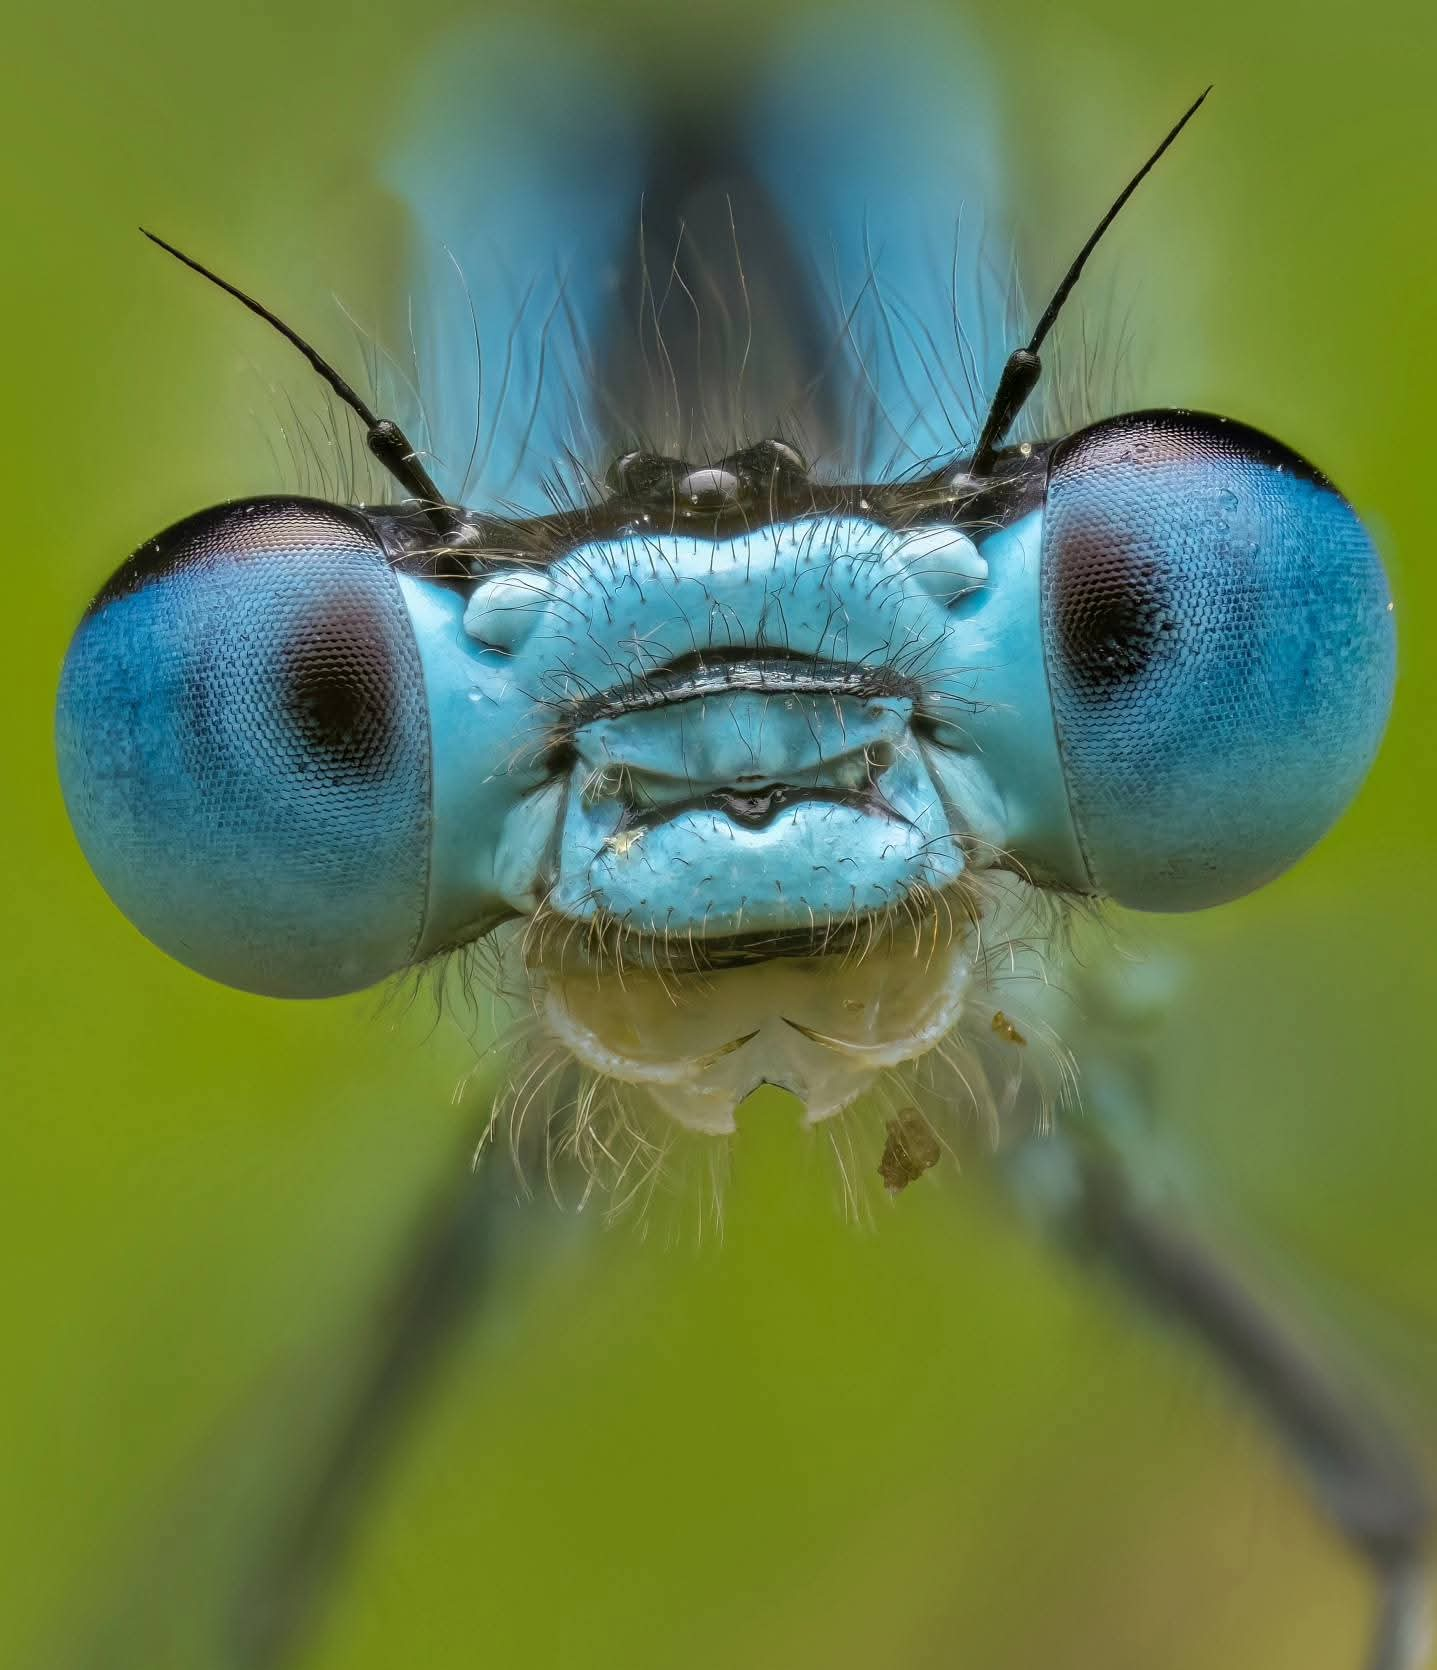
Wildheart
Hello there! Wildheart was made by a nature fanatic, for nature lovers who may want to explore photography. It isn't a photography course. It's a little guide you can work through on your phone: the settings, the methods behind them, and the stories behind the photographs.
Nature walks are great for the soul, and you don't need to travel far. Gardens, local parks, hedgerows and ponds are full of subjects, and the more often you visit the same places, the more you'll notice. We start with how to see a picture, then move on to the camera. Each lesson ends with a short quiz and something to try outside.
Any word with a dotted underline has a simple explanation. Tap and hold it to read. You can also browse the full glossary.
A quick note on ethics
Avoid taking wildlife and insects out of their habitat for pictures. Develop your photography skills instead. There is never a reason to harm, trap or chill an insect for a picture. Photograph it where it lives, and leave it as you found it. Keep to paths, give animals space, and if a creature changes what it's doing because of you, you're too close. In the UK, wild birds' nests are protected by law, so never disturb a nest for a picture.
Look it up
Glossary
Photography has a lot of jargon. Here it is in plain words.
The Gallery
Here's the gallery. Take a look.
In the interest of being open: every photo in Wildheart is a processed RAW file. Processing is an art form in itself, and editing isn't covered here. So if your pictures don't pop as much straight out of the camera, that's completely normal.
Lesson 1
Composition and framing
The placement of the subject in the frame, choice of camera angles, backgrounds, and colours all combine to create artistic photographs.
There is no single best approach to photography, as everyone has their own unique vision and way of perceiving the world. What we find appealing in our images today may not be the same a year from now, so it's important to keep taking pictures and developing your own style.
Look for uncluttered backgrounds. Clear backgrounds that are free of distracting elements will help draw attention to your subject. However, this doesn't mean that backgrounds should always be empty.
Avoid harsh lighting. Harsh light can cause bright highlights on reflective subjects. If you expose for the highlights, the image might have very dark shadows and too much contrast. Bright light can work well if it's diffused properly.
Shoot at eye level with your subject, and keep the camera parallel to it. Being parallel puts more of the subject in the plane of focus, so more of it is sharp. Getting down low also pushes the background further away, which makes it smoother. Not every image needs to be shot this way, but it's a great starting point.
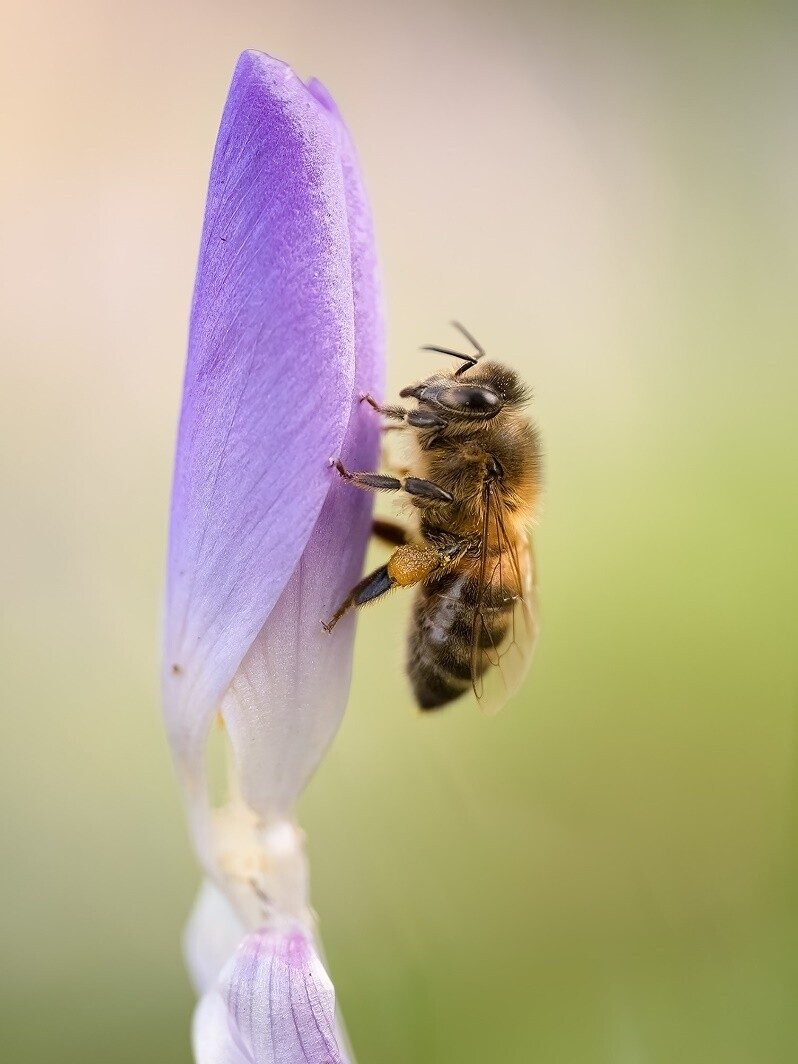
Read the photo before you read the story
Look at the bee above and answer these for yourself first. They are the questions I ask of any image.
- Which way is the subject facing?
- Do the colours complement each other?
- What is in the background?
- Which direction is the light coming from?
How I took it. I lay on the ground and held the camera at eye level with the bee. I made sure that the vertical lines were straight and that the camera angle was precisely parallel to the bee. By doing so, the plane of focus was across the bee, giving good depth of field across its head and body.
I chose a vertical camera orientation to match the flow of the scene. It was bright and overcast, so there were no burned-out highlights on the eyes or petals, and I could use a wide aperture of F3.5 to make the bee and crocus stand out against the blurred background.
The rule of thirds is a great tool for placing subjects in the frame, but a central placement can sometimes create a stronger composition that engages the viewer. Compare these two.
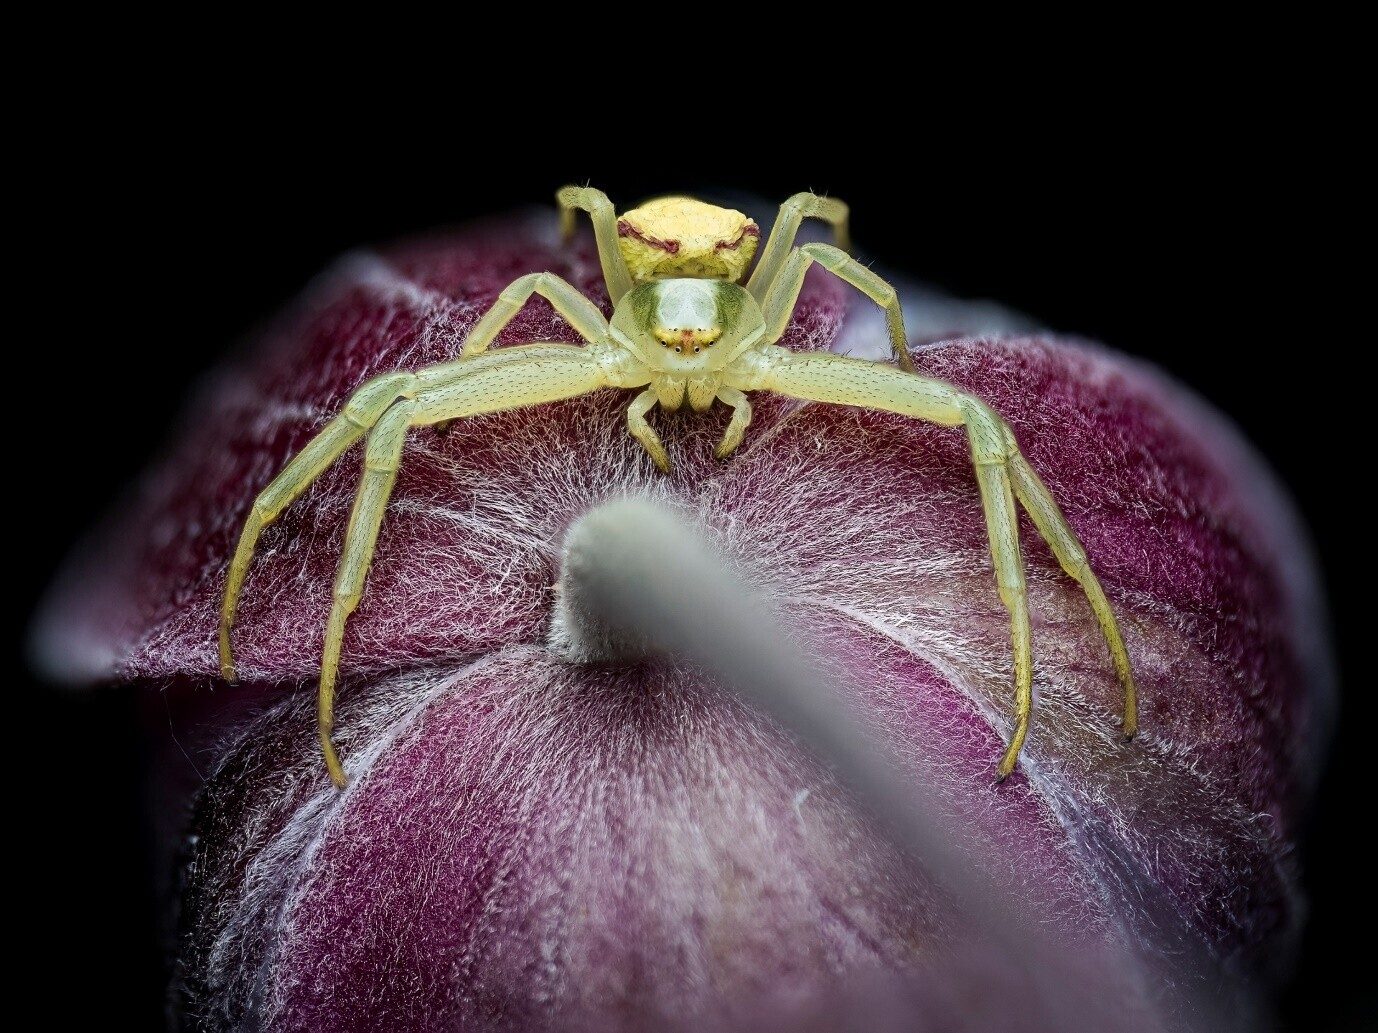
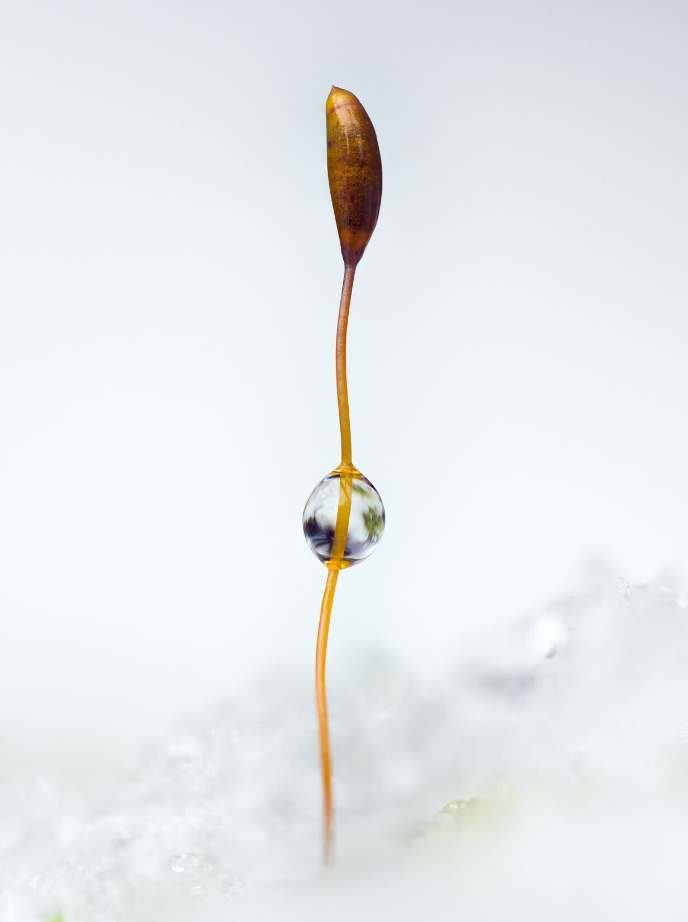
Clear backgrounds that are free of distracting elements will help draw attention to your subject. When photographing subjects on or around flowers, the background is often bold and colourful.
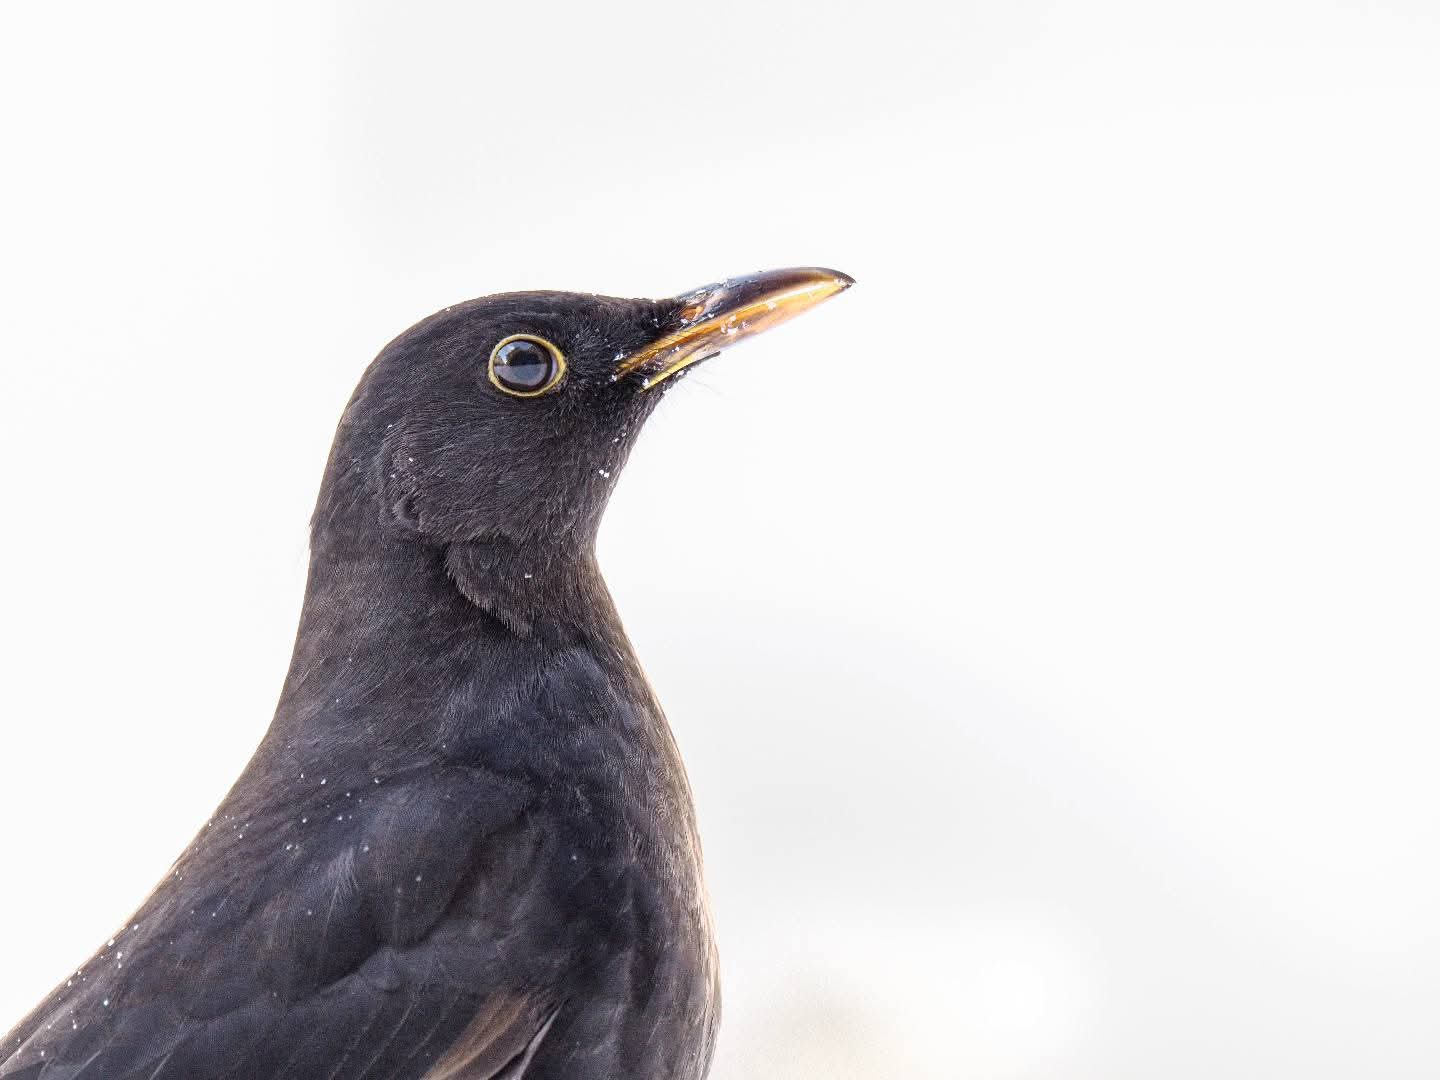
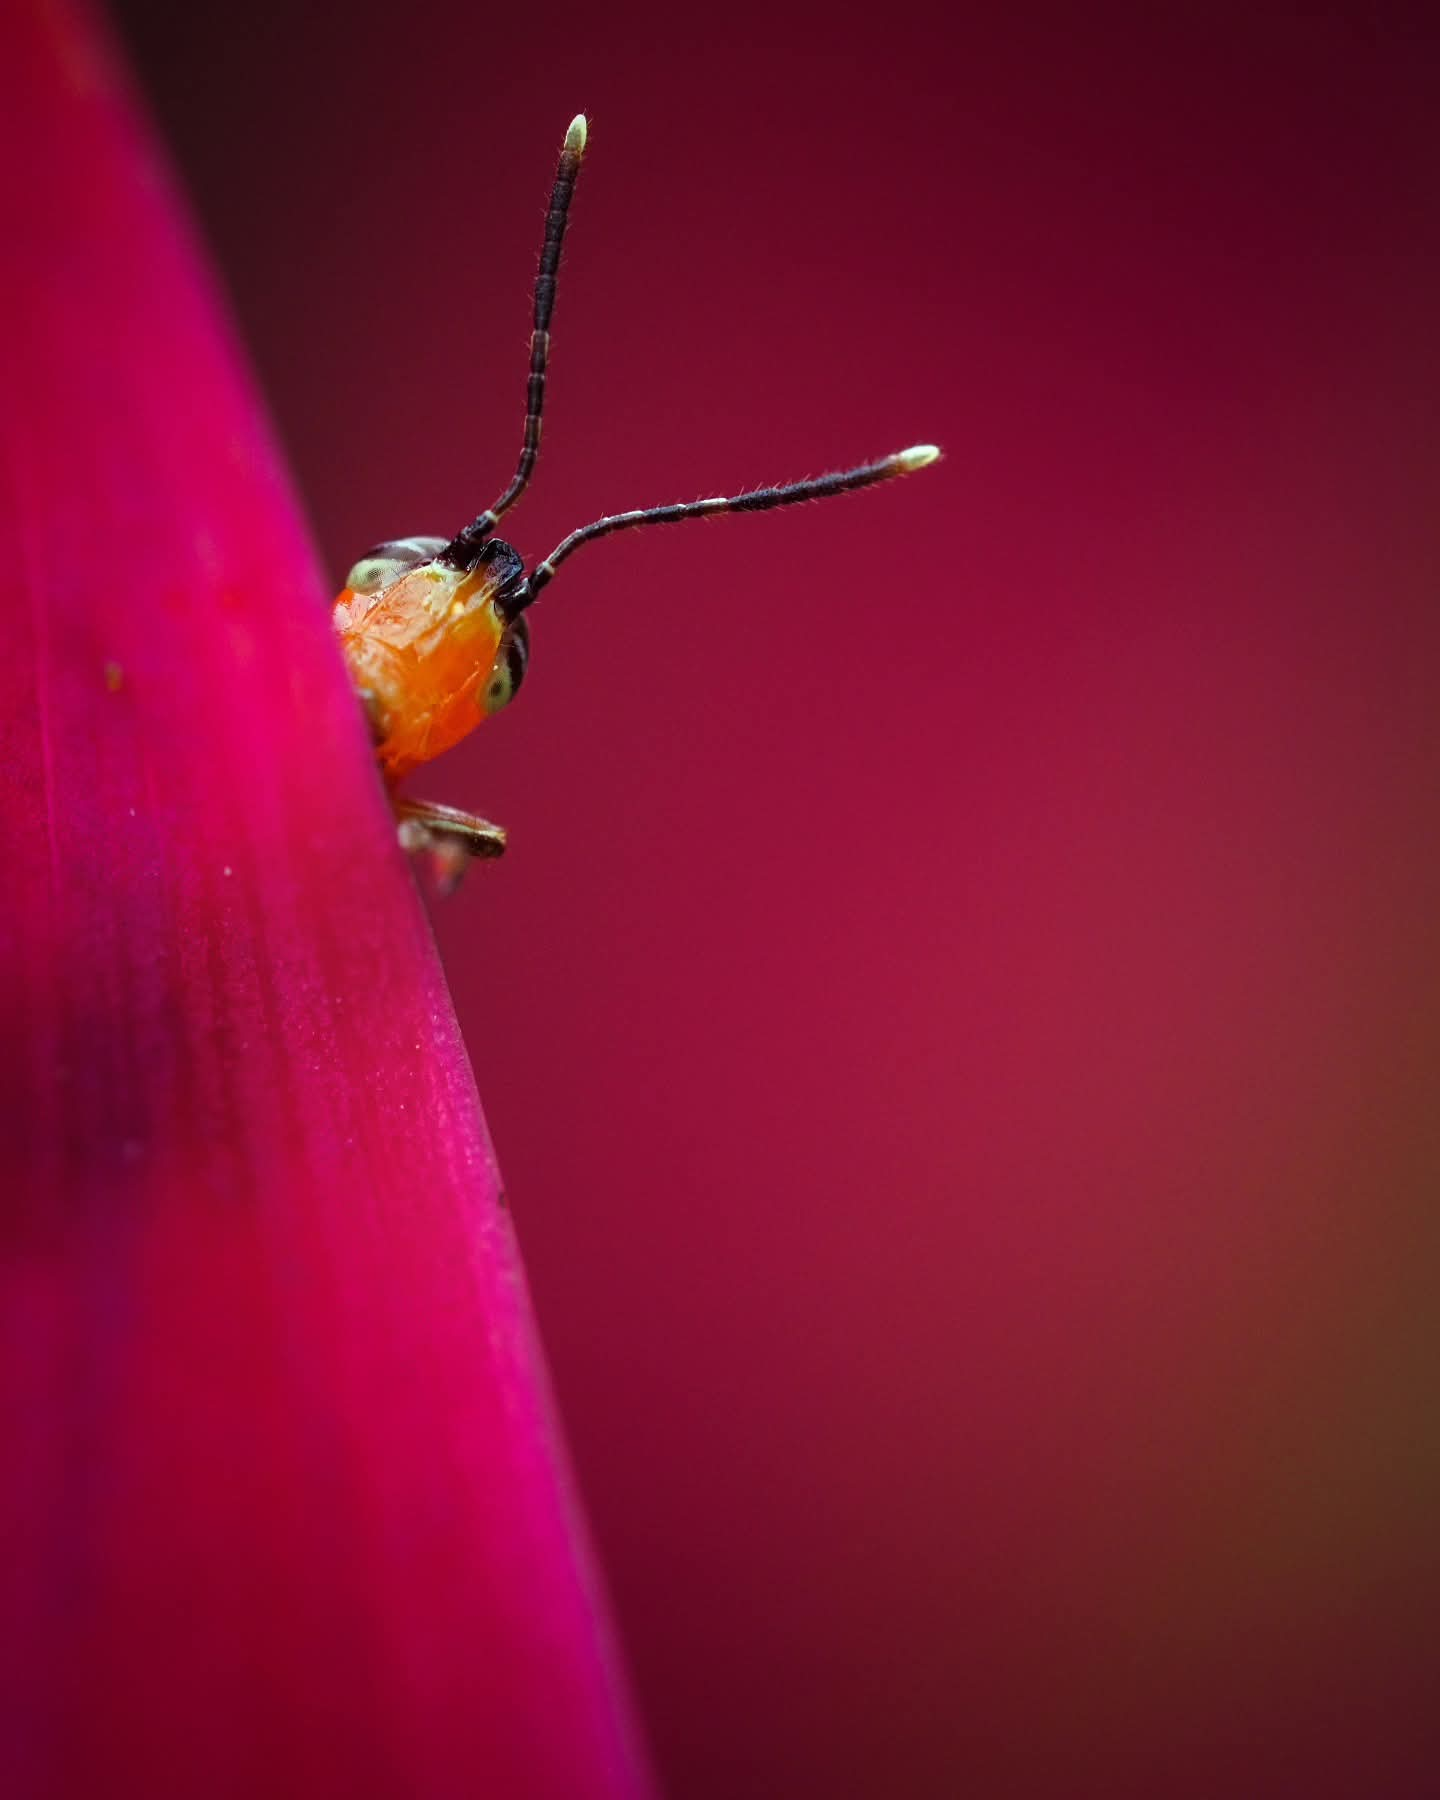
Colour, connection, clarity
When I look at a close-up, I ask three things. Colour: do the colours sit well together? Connection: does something draw you in, like an eye, an expression or a moment? Clarity: is it clear what the picture is about? It isn't a rule, just a gentle way of seeing that gives you somewhere to start.
For connection, catch the light in their eyes. A jumping spider's big dark eyes hold a catchlight beautifully. Let it gaze up towards you and you've got real character in the frame.
To give a flat little world some depth, lean on depth of field, light and scale. Including a petal or the edge of a leaf shows just how small the creature really is, and a sense of scale almost always makes a more engaging picture.
Look for a hint of a story, too. Two small subjects together, or a creature mid-moment, sets the imagination going. That's where a picture stops being a record and starts being a tale.
And a flower can't run, so use the gift of time. Don't settle for the first, familiar setup. Lie down, point up, try the daft angle. How you choose to see it is what makes the picture yours.
Lesson 2
Work with natural light
New to aperture, shutter speed and ISO? Pop into The Learning Room first. It gives you the context for everything here.
Learning to work with light, instead of just shooting in natural light, helps us see the world differently and capture stunning images with minimal equipment.
Bright and overcast weather is an excellent opportunity for macro photography, particularly for insects with highly reflective exoskeletons. Clouds do the diffusing for us.
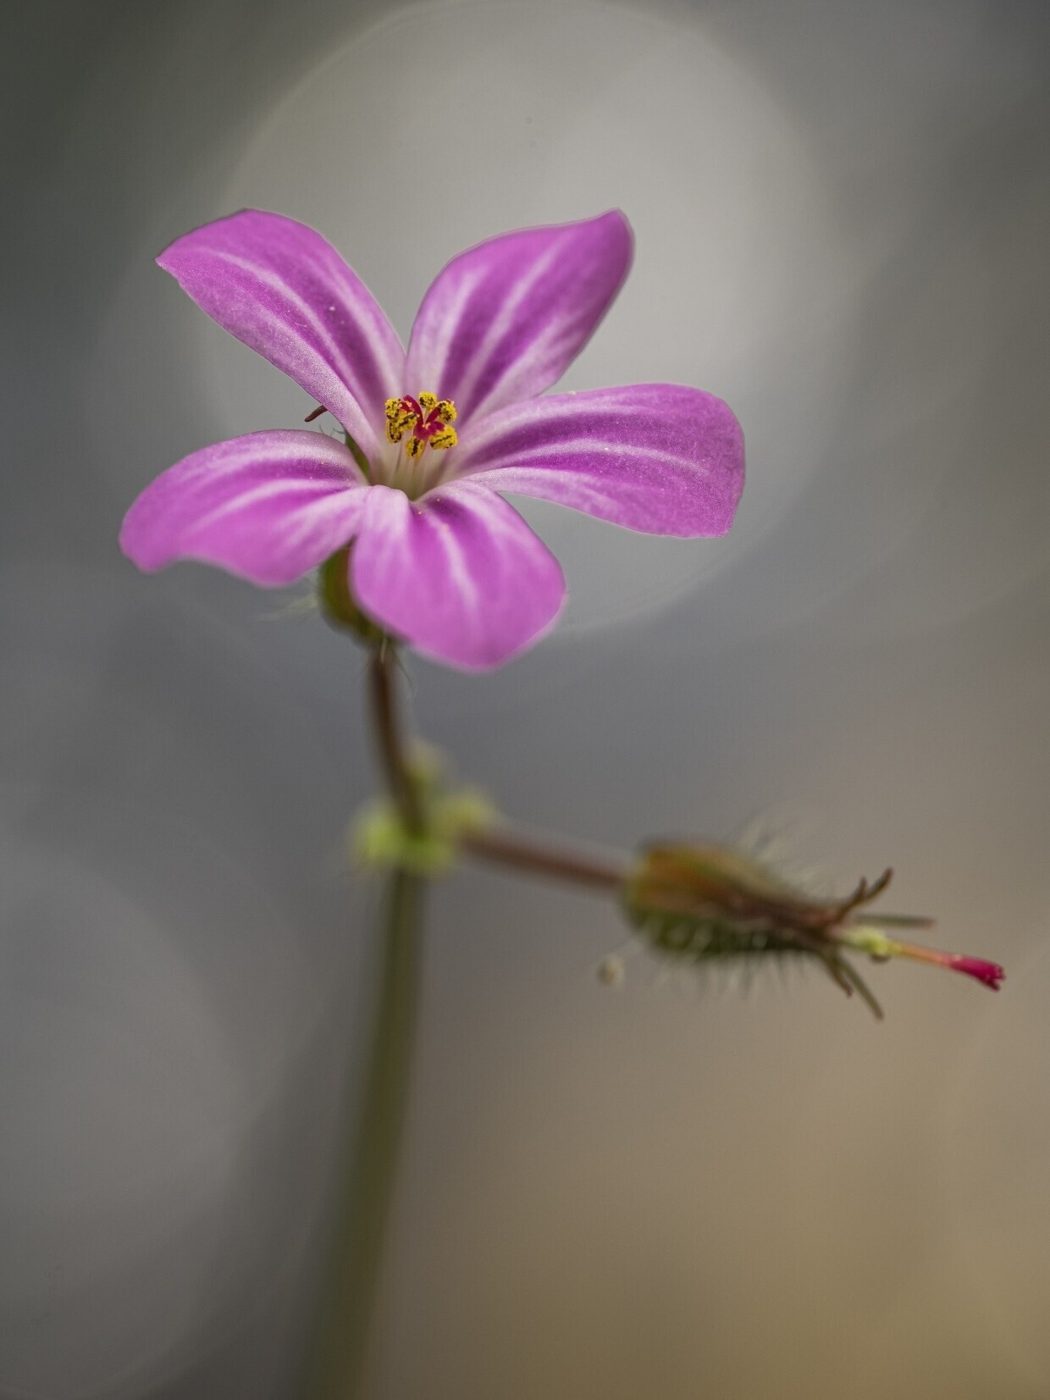
Learn to notice things that could make for interesting effects, pay attention to what happens in nature, and you can add it to your creative arsenal.
This flower was growing near a small brook with trickling water. The sun was very bright, which made the highlights on the flower look washed out. To fix this, I positioned my body between the sun and the flower, so that my shadow softened the light on the flower while the background stayed properly lit.
I chose F5.6 to create a dreamy look, and to capture a circular highlight in the background, framing the flower as the sun glistened across the water.
Compare the highlight shapes
On many lenses, including mine, closing down the aperture changes the background highlights from circular to hexagonal. The exact shape depends on the blades inside the lens. That's not wrong, but I prefer the circular, softer edges.
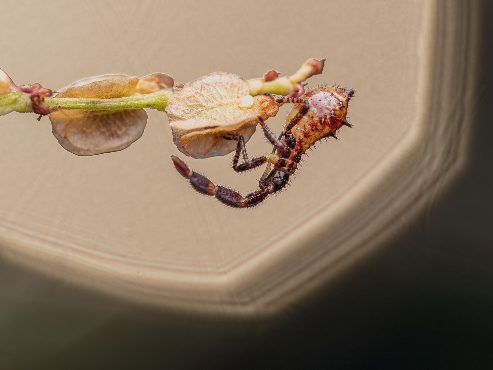
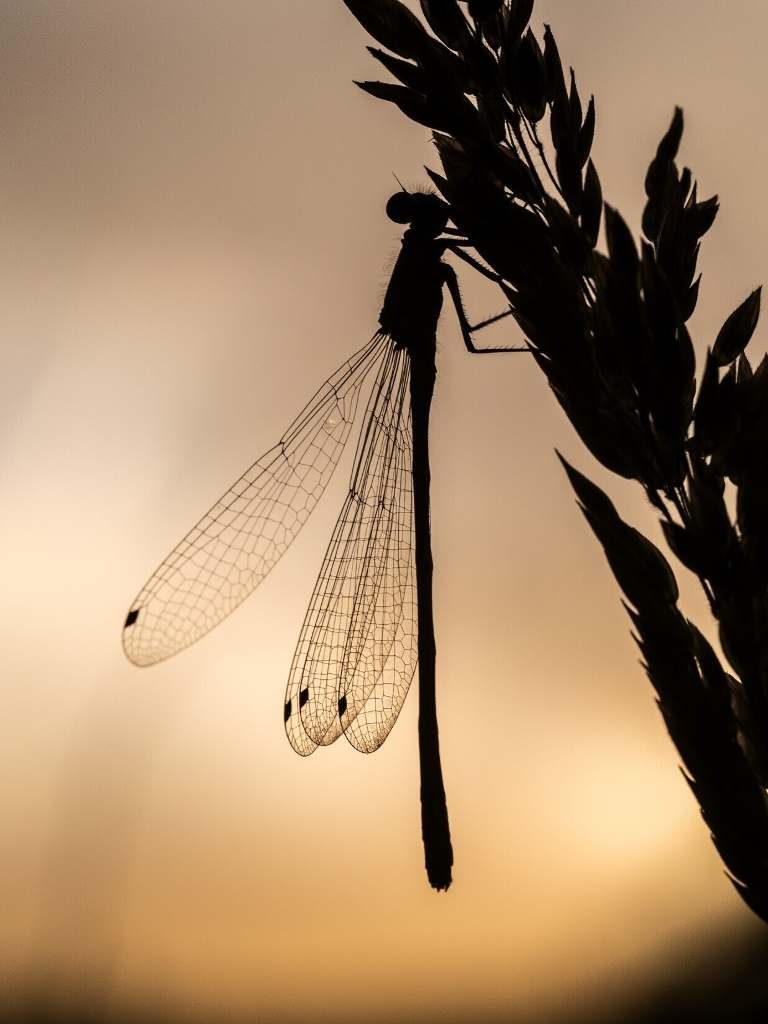
The light was very low on the damselfly as the sun had almost set, making a portrait nearly impossible with the equipment I had. So I experimented with something new.
By shooting against a bright background like the sky and exposing for the highlights, you can create a silhouette. An aperture of F11 gives enough depth of field in the scene without bringing the background into focus. This is easier when the background is far away from the subject.
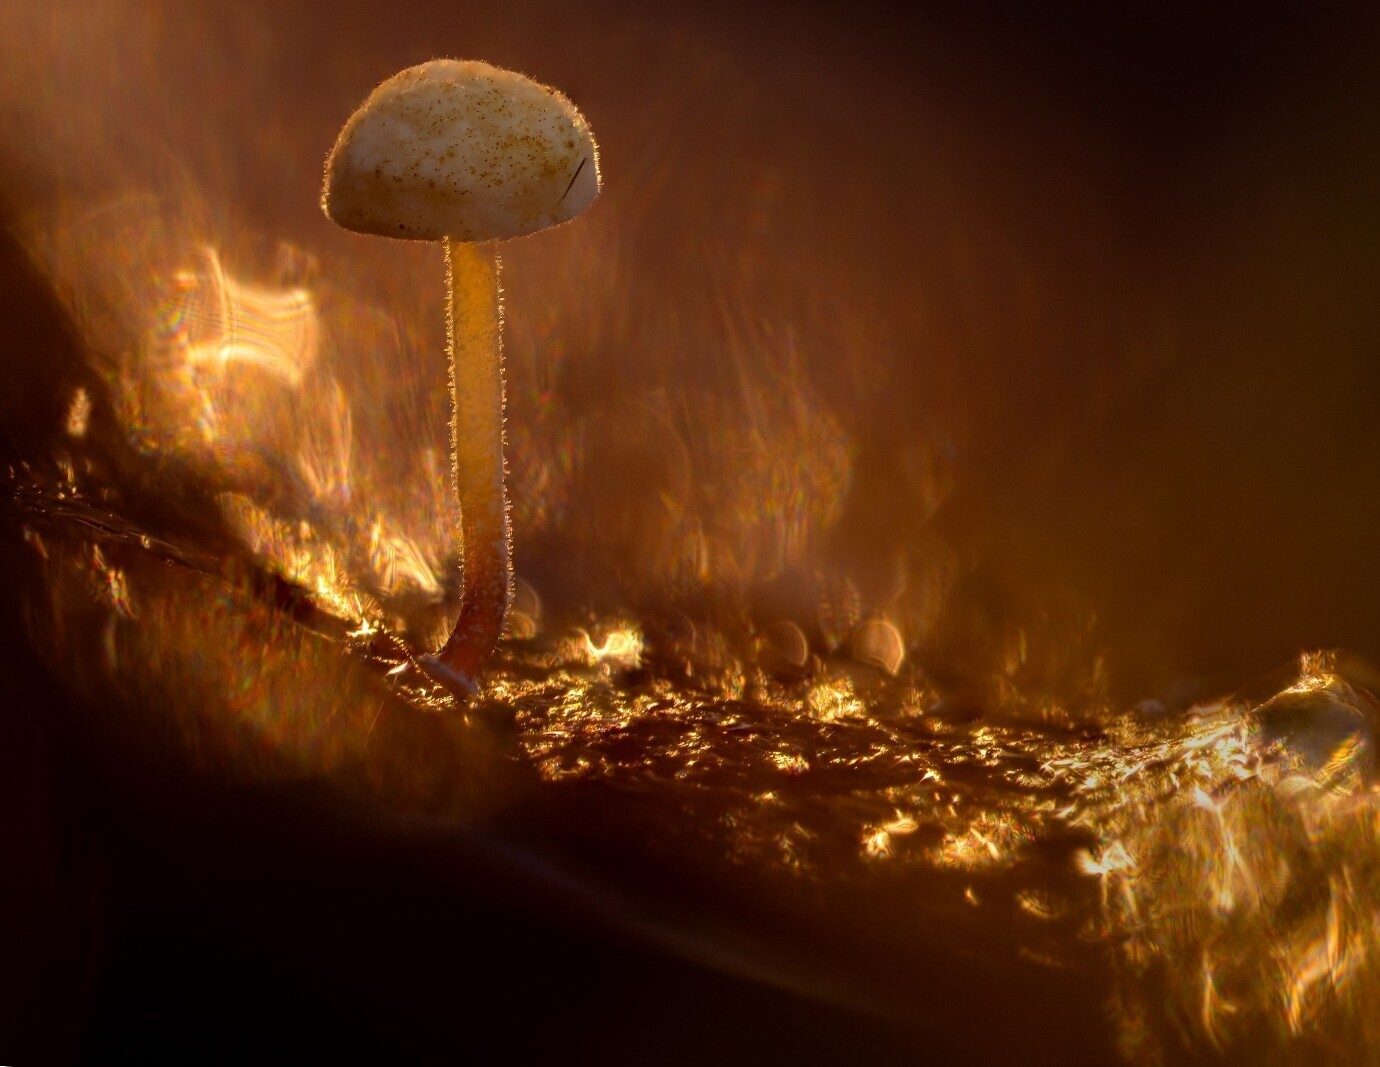
When the sun is harsh
Harsh sun isn't a lost cause. Find a flower in shade with something bright behind it, like moving water or sunlit leaves, and compose so those bright points sit behind your subject. With a wide aperture they melt into soft specular highlights, like light on the sea.
Down at water level
Find a wildflower at the edge of a pond or stream. Drop right down to water level, parallel to the bloom, and the surface gives you a reflection and a soft, simple background at once. Twilight throws a lovely blue against the green.
Challenge: a world in a water drop
After rain or early dew, or with a spray bottle of your own, find a flower seen through a single water droplet. The drop becomes a tiny lens, with the flower a little world inside it. Overcast light is kindest, taming the bright spots on wet petals.
Compose so the flower sits behind the drop, and it'll hold the bloom like a marble. A longer lens keeps your own reflection out of the water. Move around it slowly until the picture appears in the glass.
Lesson 3
Bigger subjects, same rules
Everything so far works just as well on birds and mammals as it does on bugs. Garden birds, park ducks and squirrels are a great place to start, so here's how the same thinking carries over.
Light, composition, luck and a duck.
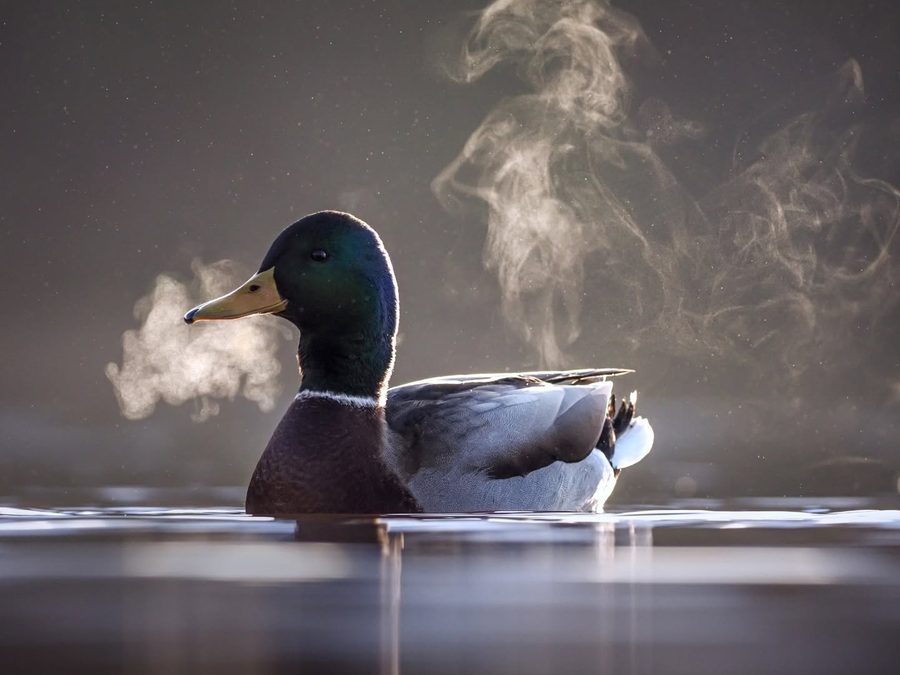
A low angle. Keeping the camera low lets the viewer connect with the animal. We meet the duck at its own level instead of looking down on it.
A clear, distant background. The background is clear and a great distance behind the duck. That places all the emphasis on the duck and makes it stand out.
Light from behind. The sun was behind the duck. The back light shows its breath and lights up the outline of the duck.
Twelve more of mine. Make a guess first, then open the story.
Shutter speed and wing blur
Two birds in flight, side by side. Look at the wing tips.
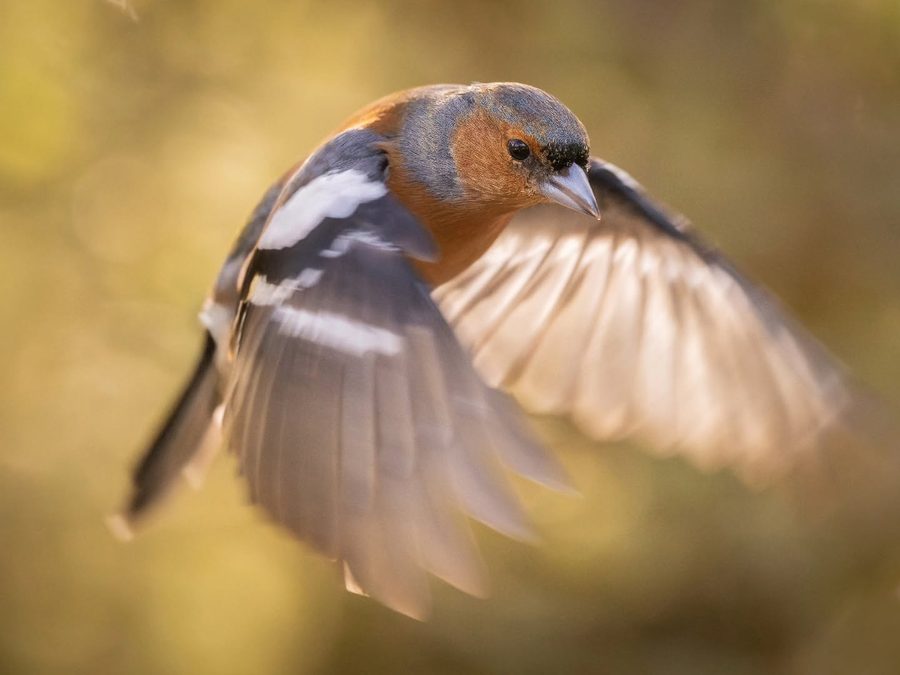
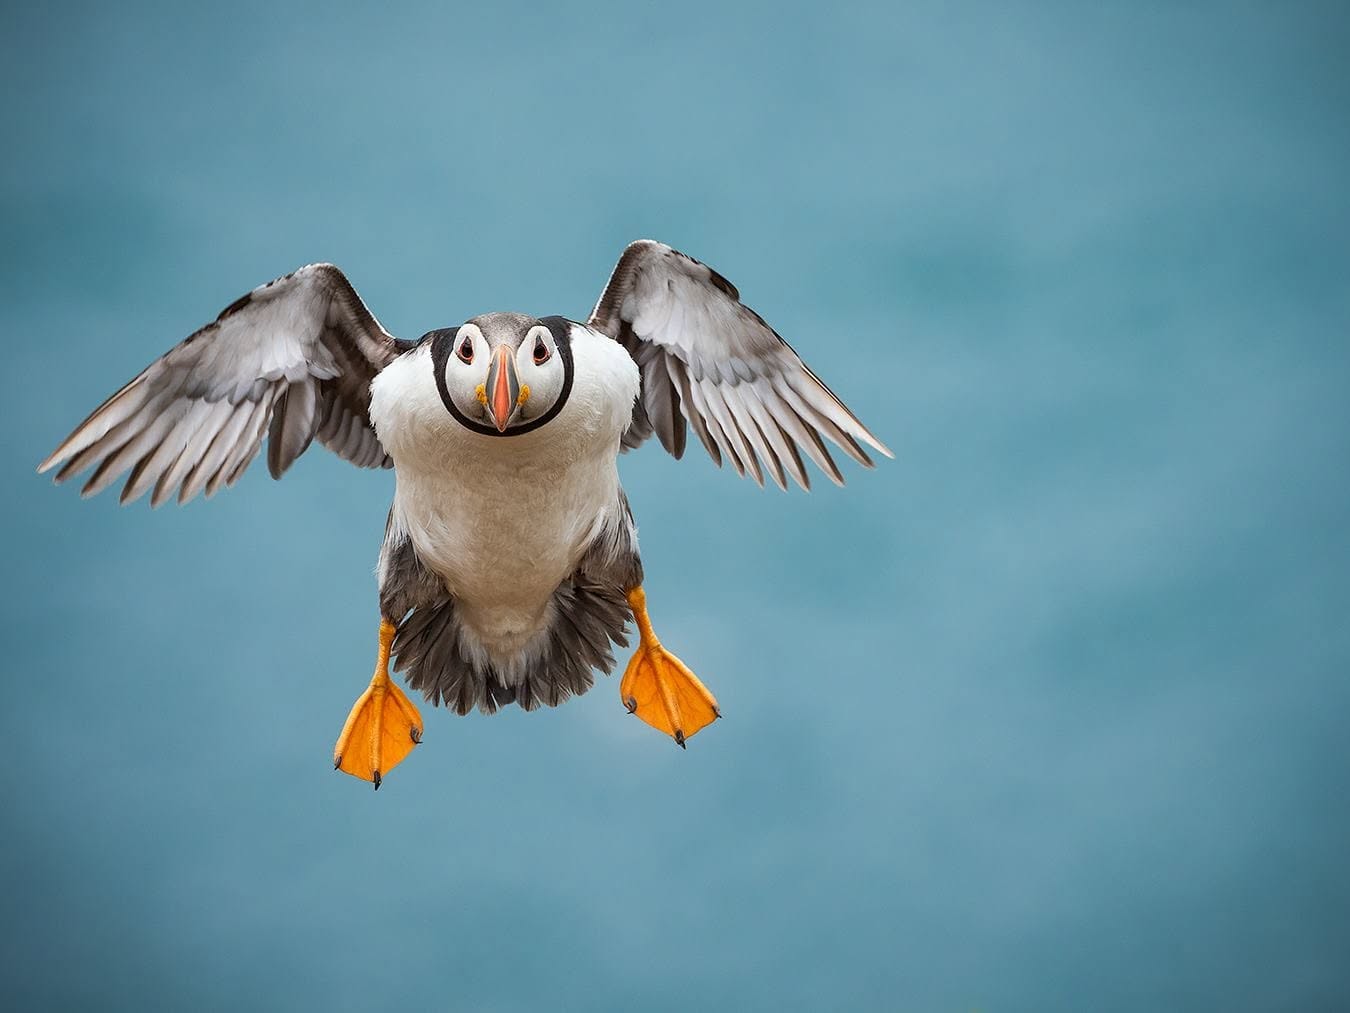
Neither is right or wrong. Choose the shutter speed for the feeling you want.
Lesson 4
Start with what you have
You don't need expensive kit to begin, and everything in the first three lessons works with a phone.
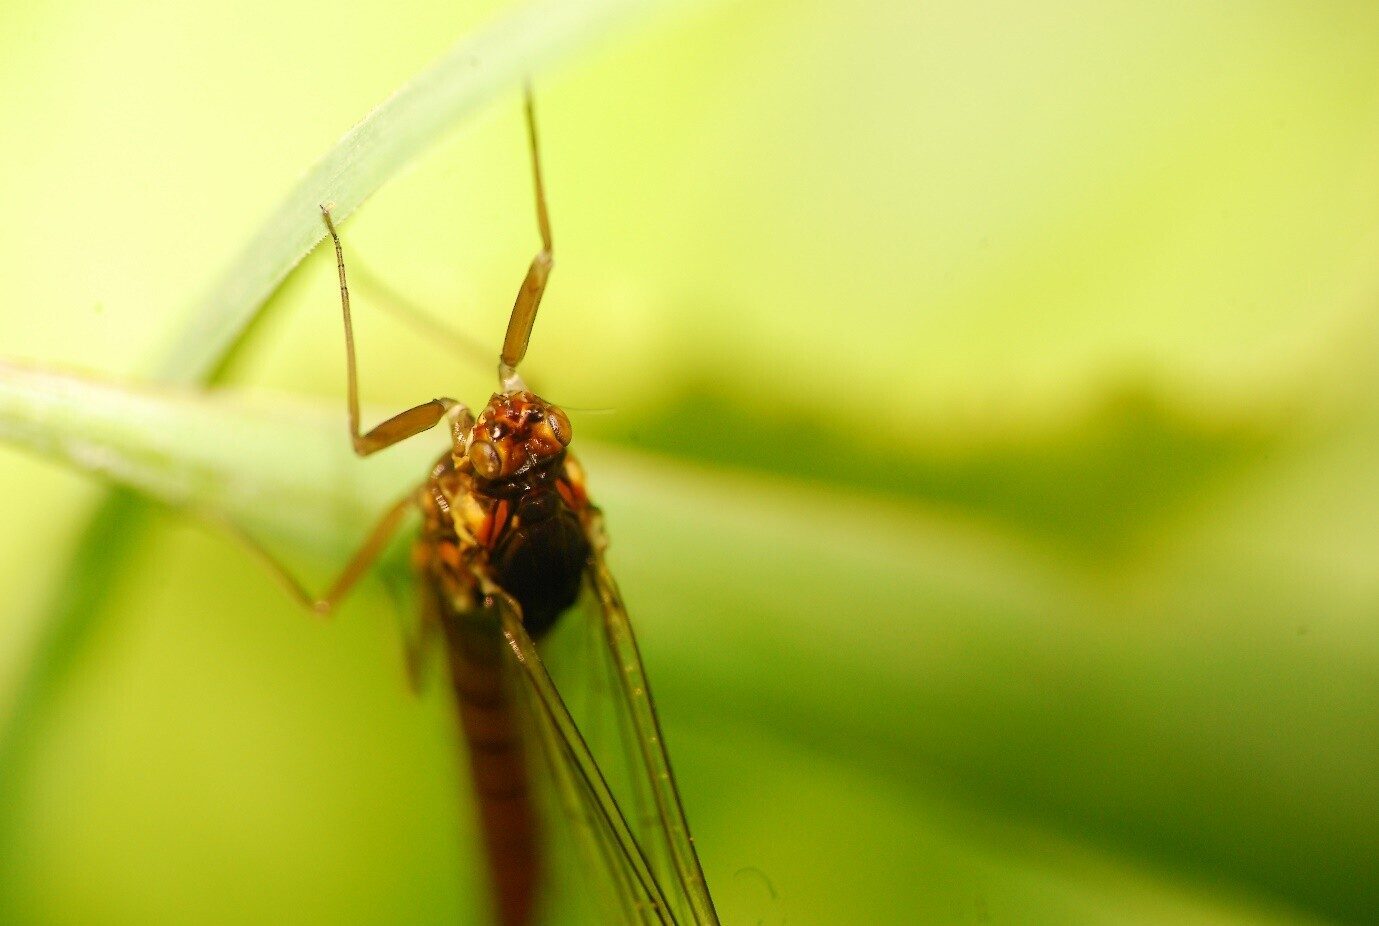
Shortly after buying my first DSLR, I began my journey into macro. I didn't have a macro lens, so I bought the Raynox DCR-250 macro converter and attached it to my Sigma 70-300. Later I bought a dedicated macro lens.
With a phone
Get close; don't zoom. Digital zoom just crops the picture and throws away detail. Move your phone closer instead. Many phones switch to a close-focus or macro mode on their own when you get near, and some show a small flower icon. If it won't focus, back off a little. If your phone has a 2x or 3x lens, try that too; it can let you stay further from a nervous insect.
Tap to focus on what matters. Tap the eye, or the most important part. On most phones, pressing and holding locks the focus and brightness so they don't jump about.
Use the brightness slider. After tapping, a slider appears beside the focus box. That's the phone's version of exposure compensation. Slide it down until the brightest petals keep their detail.
Keep steady. Brace your elbows, lean on something, and take the picture with the volume button or the self-timer so your tap doesn't shake it.
Leave the flash off. A phone's flash is harsh up close. Use bright overcast light, or your own shadow, just like in Lesson 2.
Portrait mode blurs the background with software. It can smudge fine edges like antennae and hairs, so for small subjects, a background that is genuinely far away usually looks better.
Clip-on macro lenses for phones are inexpensive and give much more magnification. They work very close to the subject, so they're best for things that stay still: flowers, fungi, moss and lichen.
With a camera and kit lens
Macro adapters and extension tubes are an excellent starting point on a budget. A close-up filter screws or clips onto the front of the lens; extension tubes fit between the camera and lens. Both let you focus much closer. You can always upgrade to a dedicated macro lens later, and the next lesson covers what I use.
Don't chase new and shiny
Pricey gear lets you push technical limits, but only in the hands of someone with an eye and intent. For learning and exploring, what you have is perfect. A pro camera from ten years ago still delivers, for a fraction of the cost. Spend on where you point the camera, not always on the camera.
There's an honest exception: some subjects really do ask for the gear, like low light, fast action or real reach. Let the need come from the subject in front of you, not from wanting something new.
There's a difference between file quality and picture quality. Someone with a £40,000 budget will get a higher quality file than someone with a £300 kit, but that doesn't make their photography any better. I started with a £400 kit. I did move up to high-end gear later on, but only once I had a real need for its features.
For most of us, be happy with what we have. Enjoy the process, and don't put too much emphasis on the outcome right away.
Lesson 5
Lenses and kit
When you're ready to move on from adapters and tubes, a dedicated macro lens usually gives sharper detail, more control, a longer working distance, and more options for composition. Auto-focus is not always necessary in macro, so manual focus lenses can be a more affordable option. Used gear from reputable dealers, many with a decent warranty, is worth a look too.
Working distance is the space between the subject and the lens. The greater the focal length, the further from the subject we can be while still focusing close.
Micro Four Thirds calculator
I shoot micro four thirds. The smaller sensor gives a field of view equivalent to double the focal length on a 35mm (full frame) sensor. When I talk about lenses, I use MFT numbers, so keep this in mind.
| Lens | Equivalent view | What I use it for |
|---|---|---|
| OM System 90mm Macro | 180mm | Insects. The longer, the better, because they are less likely to be spooked. It focuses very closely too, so I rarely need to swap lenses. |
| Olympus 60mm Macro | 120mm | Fungi and plants. In woodland, the shorter focal length means I get closer, with less clutter between lens and subject. Also my second choice for insects, and small enough for hand-held work. Add extension tubes or a close-up filter for extra magnification. |
If insects are your thing, look for a macro lens with a field of view of at least 90mm.
Wide angle, up close
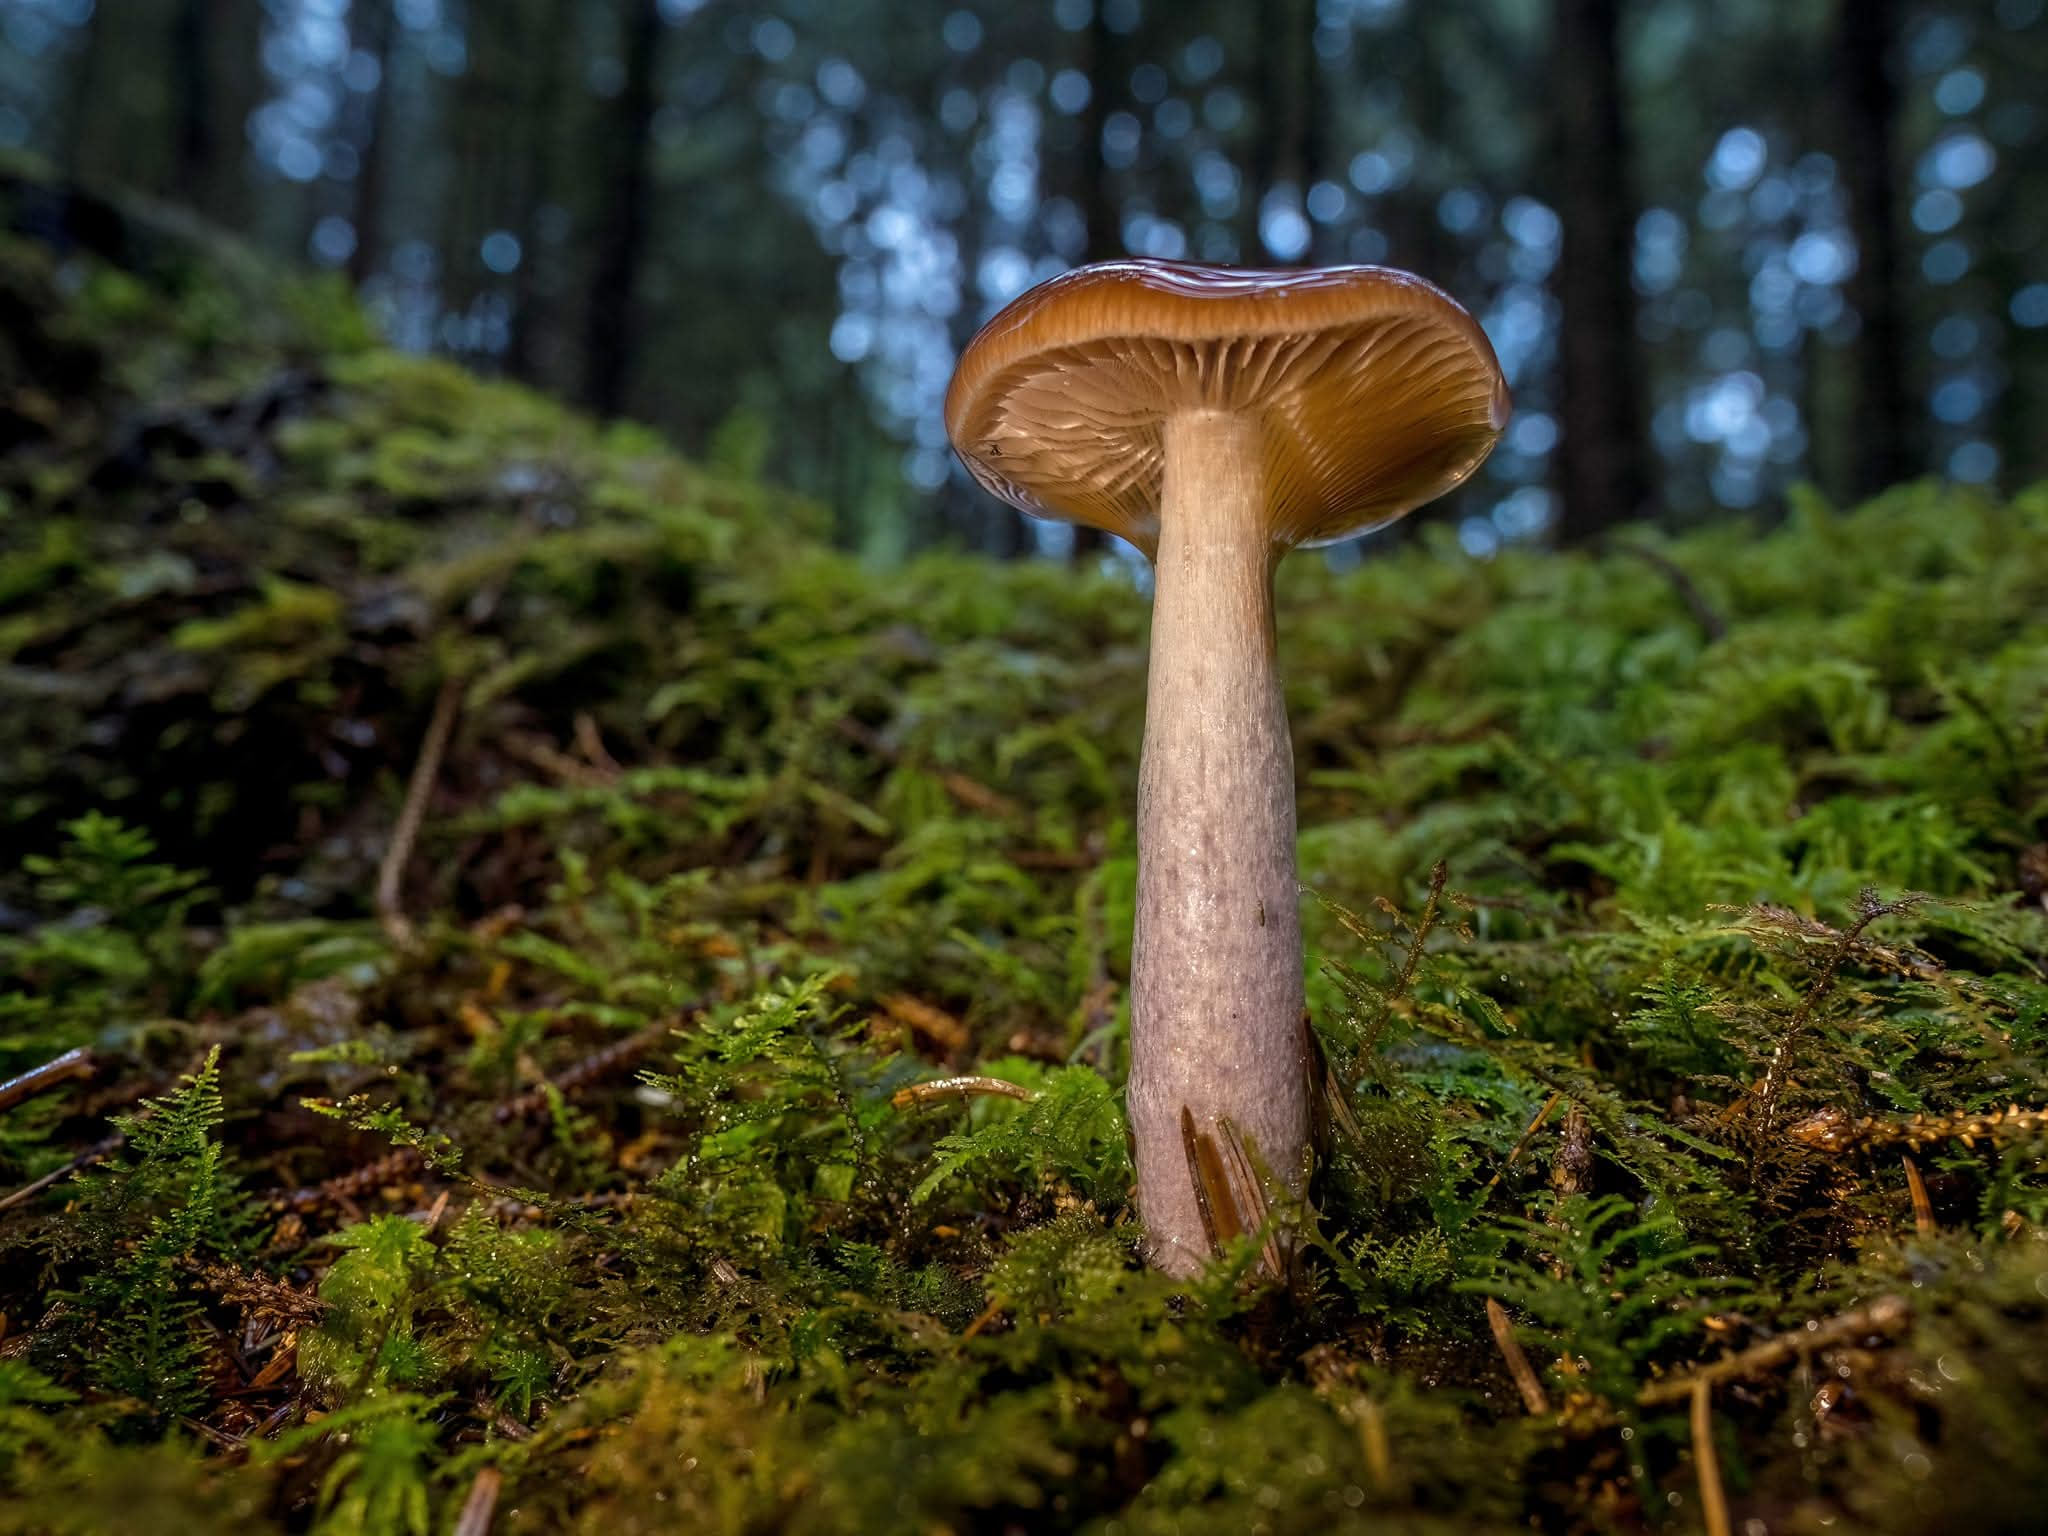
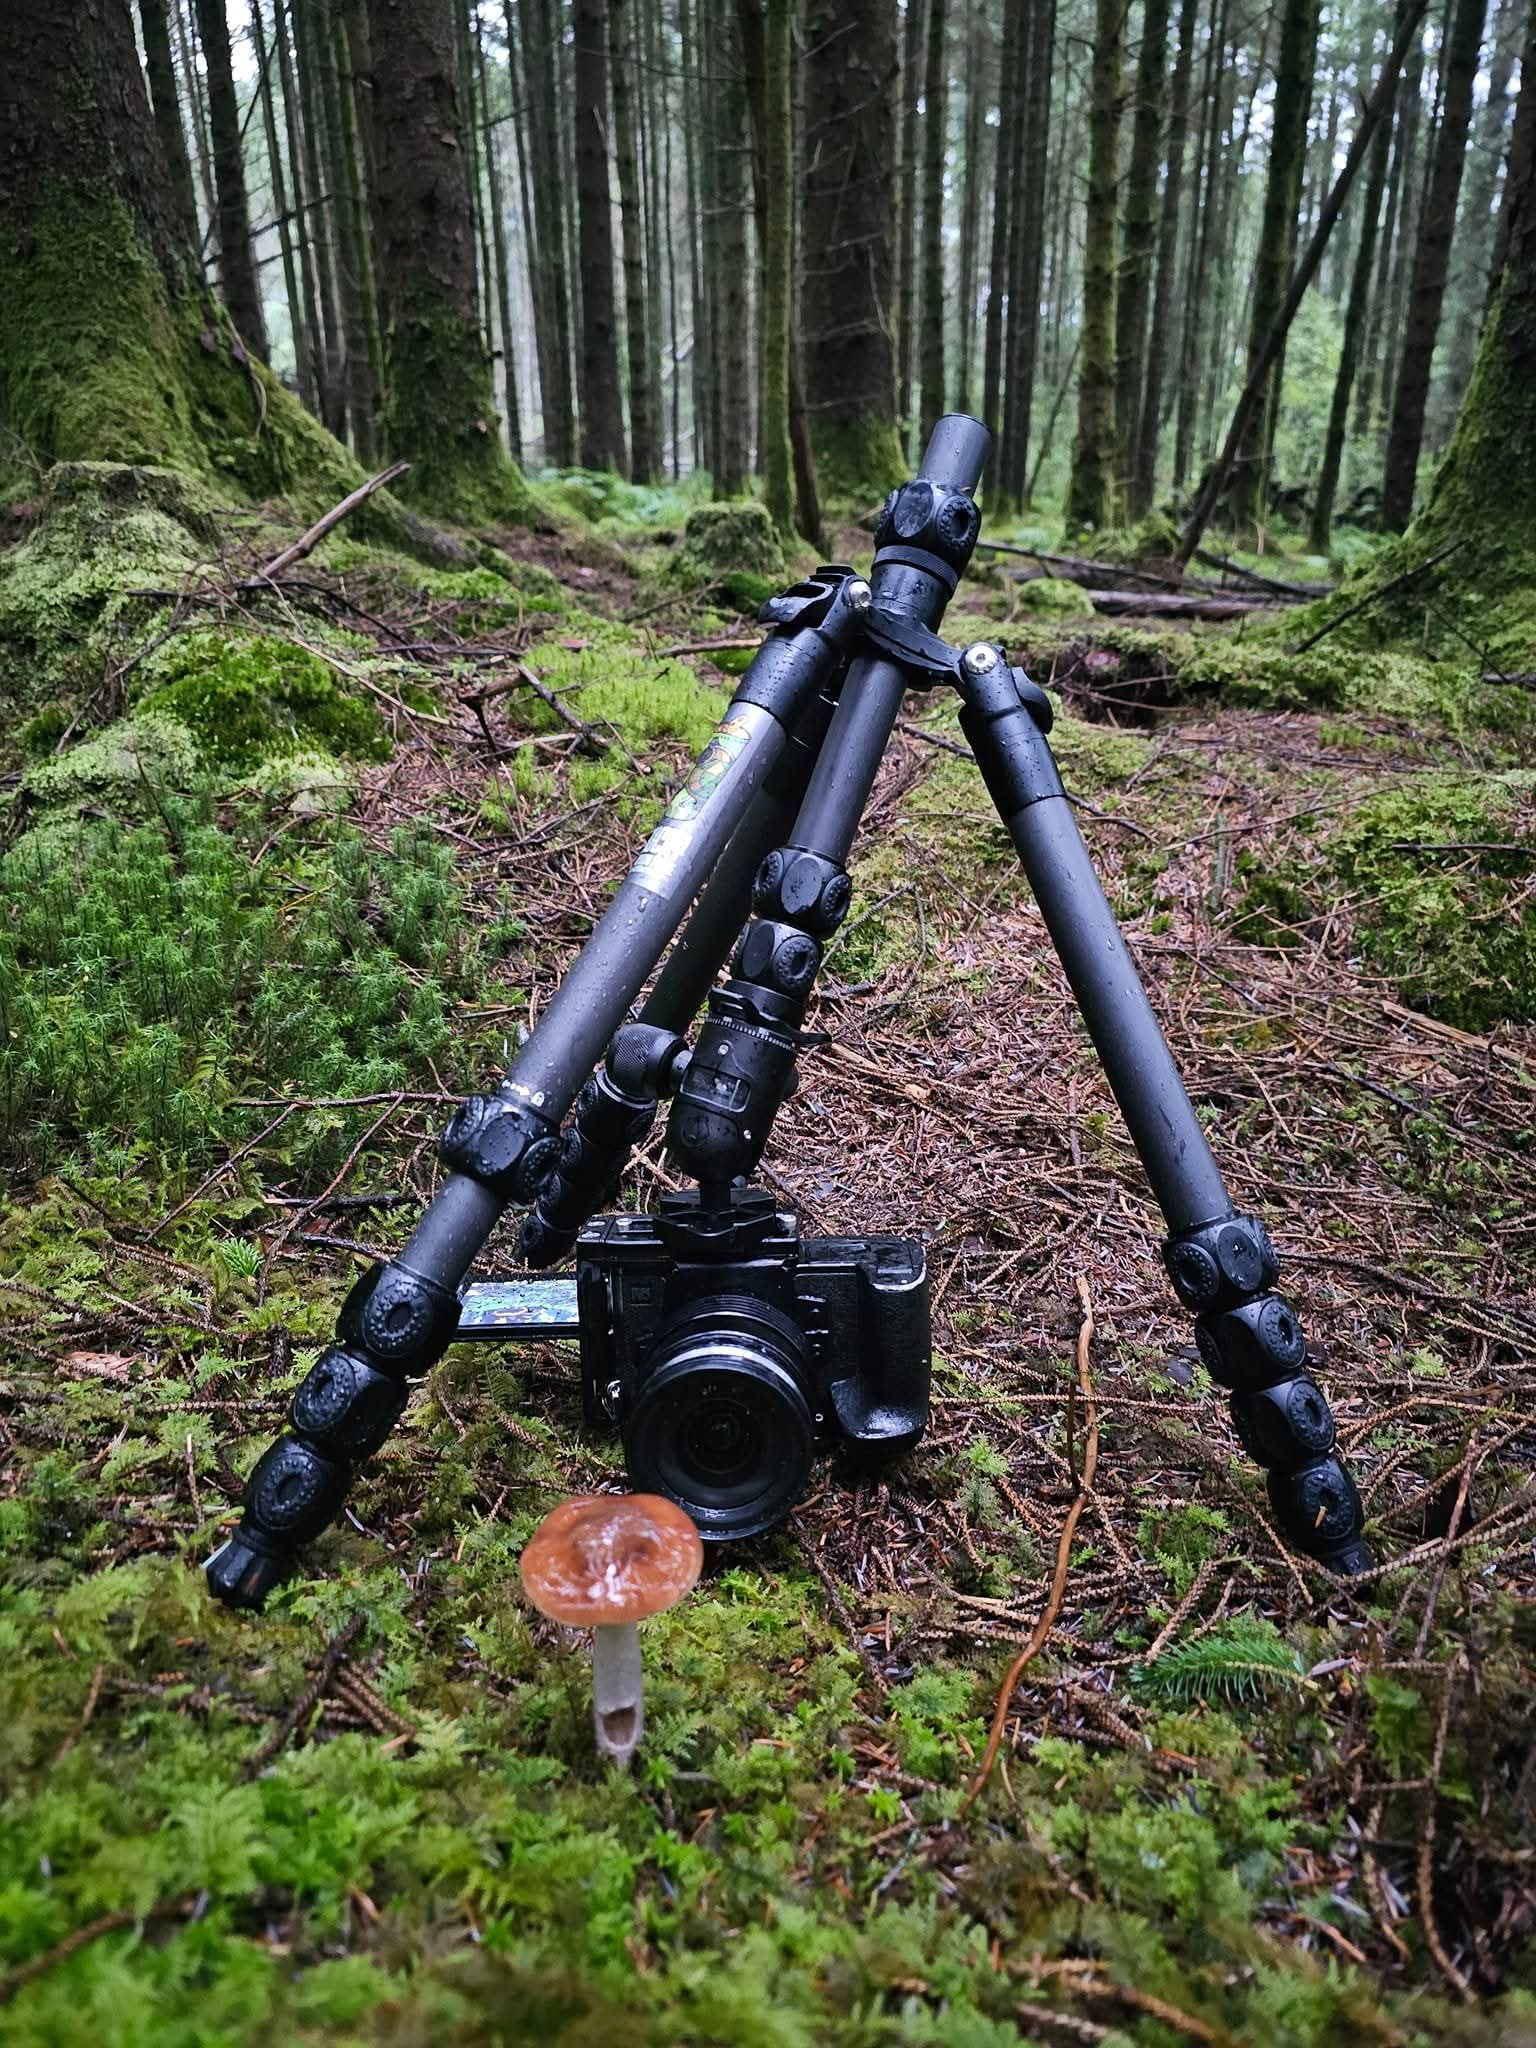
A macro lens isn't the only way to photograph small things. Here I used a wide angle lens up close, to fill the frame with the mushroom while still showing the forest behind it for context.
The camera is mounted upside down on the tripod, which gets the lens right down at ground level. I use a 5 second self-timer, so any shake from pressing the shutter button has settled before the picture is taken.
Camera basics · pop in any time
The Learning Room
Every great photographer, and all those folks who take the amazing images we aspire to, started at the very beginning, right where we are now.
Most of us have stood looking down at a new camera thinking: where does the battery go? Where do I point it? What does any of this even mean? There's a whole new language to learn, and it can feel a little overwhelming.
So let's remember that this is fun. It's relaxing, there are no competitions, and everything here is at our own pace. Photography is meant to be enjoyed, and the less stressed we are, the easier it becomes to learn.
Enjoy the not knowing, too. It's a special time in your learning journey. At some point you'll know more and more, there'll be less and less to learn, and you may look back on these days rather fondly. That innocence is worth as much as knowing everything.
And even when you become confident, keep trying new things. Keep experimenting, and step into the unknown. Knowledge is power, but it can also be a limitation. Accidents, spontaneous moments, the things you can't plan: that's where the gold happens.
This room is the background for everything else in Wildheart: aperture, shutter speed and ISO, and a few other things worth knowing. Have a read before the lessons, or pop back whenever something doesn't make sense.
Every photo is made of light. Three settings decide how much of it gets in, and each one also changes the look of the picture in its own way. That second part is what matters most, so that's the focus here.
Aperture. The hole in the lens that lets the light in, set with the F-number. A small number like F2.8 is a big hole: lots of light, and only a thin slice of the scene in focus, so the background melts away. A big number like F16 is a small hole: less light, and much more of the scene sharp. It's easy to mix up, so here's how I remember it: small number, small slice of sharp.
Shutter speed. How long the light gets in for, like 1/500 of a second. Fast freezes movement. Slow lets it blur, whether that's the subject moving or your hands. Next time you're a passenger in a car or on a train, watch the horizon drift by slowly while the fence beside you races past. Your subjects are the same: the nearer and faster something moves across your frame, the quicker your shutter needs to be. Smooth, milky water wants a slow shutter and a tripod. A bird flying past wants 1/1000 or faster.
ISO. How sensitive the camera is to light. Turning it up brightens the picture without touching the other two, but it adds grain. Keep it low when you can and raise it when you need to. A little grain is far easier to live with than a blurry photo.
They all trade in stops. Each step, like F4 to F5.6, 1/250 to 1/125, or ISO 200 to 400, is one stop: double or half the light. So you can swap one for another and keep the same brightness. F5.6 at 1/125 is just as bright as F4 at 1/250. You've simply traded some depth of field for a faster shutter.
Try it: a camera on your screen
Change the settings and watch what happens. This is a simulation: the photo is only there to show the effect of each setting.
In Manual, you set all three. The meter above shows whether the camera thinks the picture is too dark or too bright.
Challenges
A few more things worth knowing
Choose your focus point. Tell the camera where to focus rather than letting it guess. Put the point right on what matters, usually the eye.
The meter. The little scale in your viewfinder, from −3 to +3. It shows whether the camera thinks your picture is too dark or too bright. It's a guide, not a judge: snow and dark backgrounds both fool it.
The histogram. A graph of the brightness in your picture. Bunched against the right edge means the brightest parts have burned out; bunched on the left means the shadows have gone black. Handy on a sunny day when the screen is hard to see.
White balance. Makes white look white under different kinds of light. Auto does a good job most of the time, and if you shoot RAW you can change it afterwards.
RAW and JPEG. A JPEG is a finished picture. A RAW file keeps everything the sensor saw, so there's more to work with later. Shoot RAW alongside JPEG if your camera allows it. Every photo in Wildheart started as a RAW file and was processed afterwards.
Back up. Back up the pictures you love. The world keeps its light; let's keep our pictures.
Blurry photo? Motion or focus?
Let's find which kind of blur it is first, because they have different cures. Look closely at your photo. Which is it?
That's motion. Either the subject moved or the camera did. Try a faster shutter speed, steady yourself or use a tripod, or freeze it with flash.
That's a focus miss, not a shutter problem. Either the camera focused on the wrong spot, or your depth of field was too shallow to hold the subject. Put your focus point right on what matters, usually the eye, and if more needs to be sharp, use a bigger F-number.
And blur isn't always a mistake. Milky water, a sense of movement: it becomes a skill the moment it's on purpose.
Lesson 6
Camera settings
New to aperture, shutter speed and ISO? Pop into The Learning Room first. It gives you the context for everything here.
Some of the most challenging parts of nature macro are depth of field (getting enough of the subject in focus), shutter speed (avoiding blur from camera shake or movement), non-cooperative subjects (expect to miss a lot of images!) and the weather, especially wind.
To practise, start with static subjects. Mount the camera on a tripod and pick something that interests you. Indoor plants and flowers are good, as are mushrooms outdoors, as long as the subject is sturdy enough to withstand any wind. This takes the worry out of shutter speed so you can practise without stress.
In Aperture Priority mode, we choose the F-number and the camera sets the shutter speed based on the light and the ISO we choose. Aim for a lower ISO for the best image quality.
To change brightness, use exposure compensation. Positive values brighten the image, negative values darken it. The aperture stays where you set it, and the shutter speed changes. If Auto ISO is switched on, the camera may change the ISO instead, so I fix my ISO when I want to know exactly what's moving.
The aperture trade-off
When we close the aperture to gain depth of field, we let in less light. That means a longer shutter speed or a higher ISO. Move the slider and watch both.
Depth of field (relative)
Example light: a bright overcast day, F2.8 at 1/500 and ISO 200. Your own numbers will differ; the relationship won't.
Longer shutter speeds can cause motion blur, and a higher ISO adds grain. It takes time and practice to decide on the right settings, so be patient with yourself and enjoy the freedom of uncertainty.
Setting up for close work
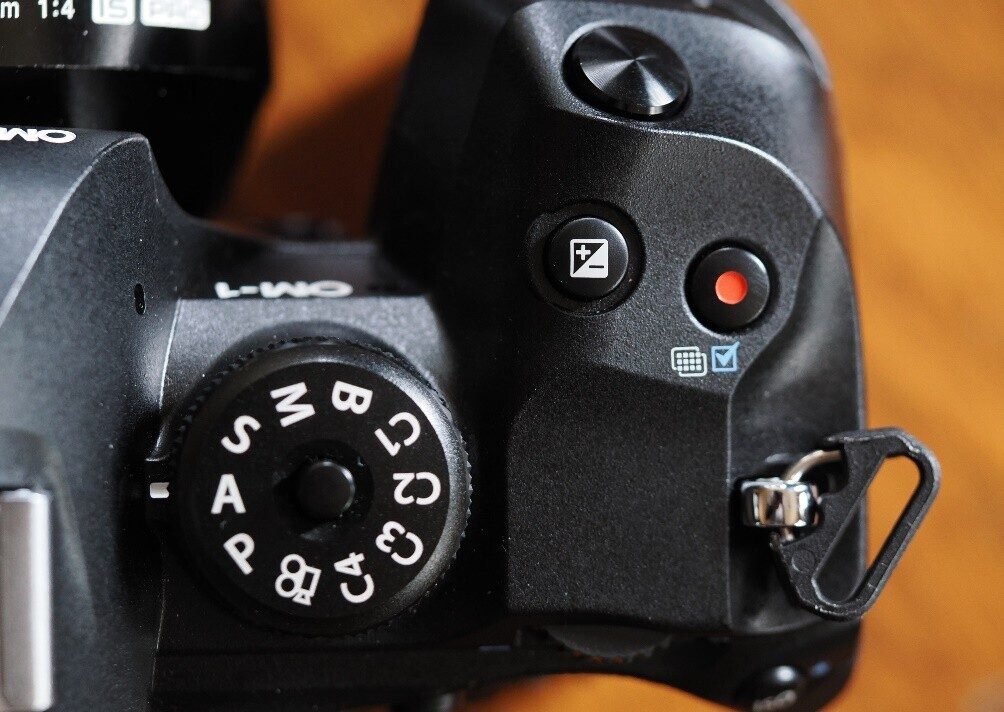
Two things I set up for macro. Back-button focus, with a manual override on hand for when the camera hunts. And I separate my IBIS from my autofocus. Together they give you control when the camera dithers. Not every camera has these settings, so check your manual.
Lesson 7
Focus stacking
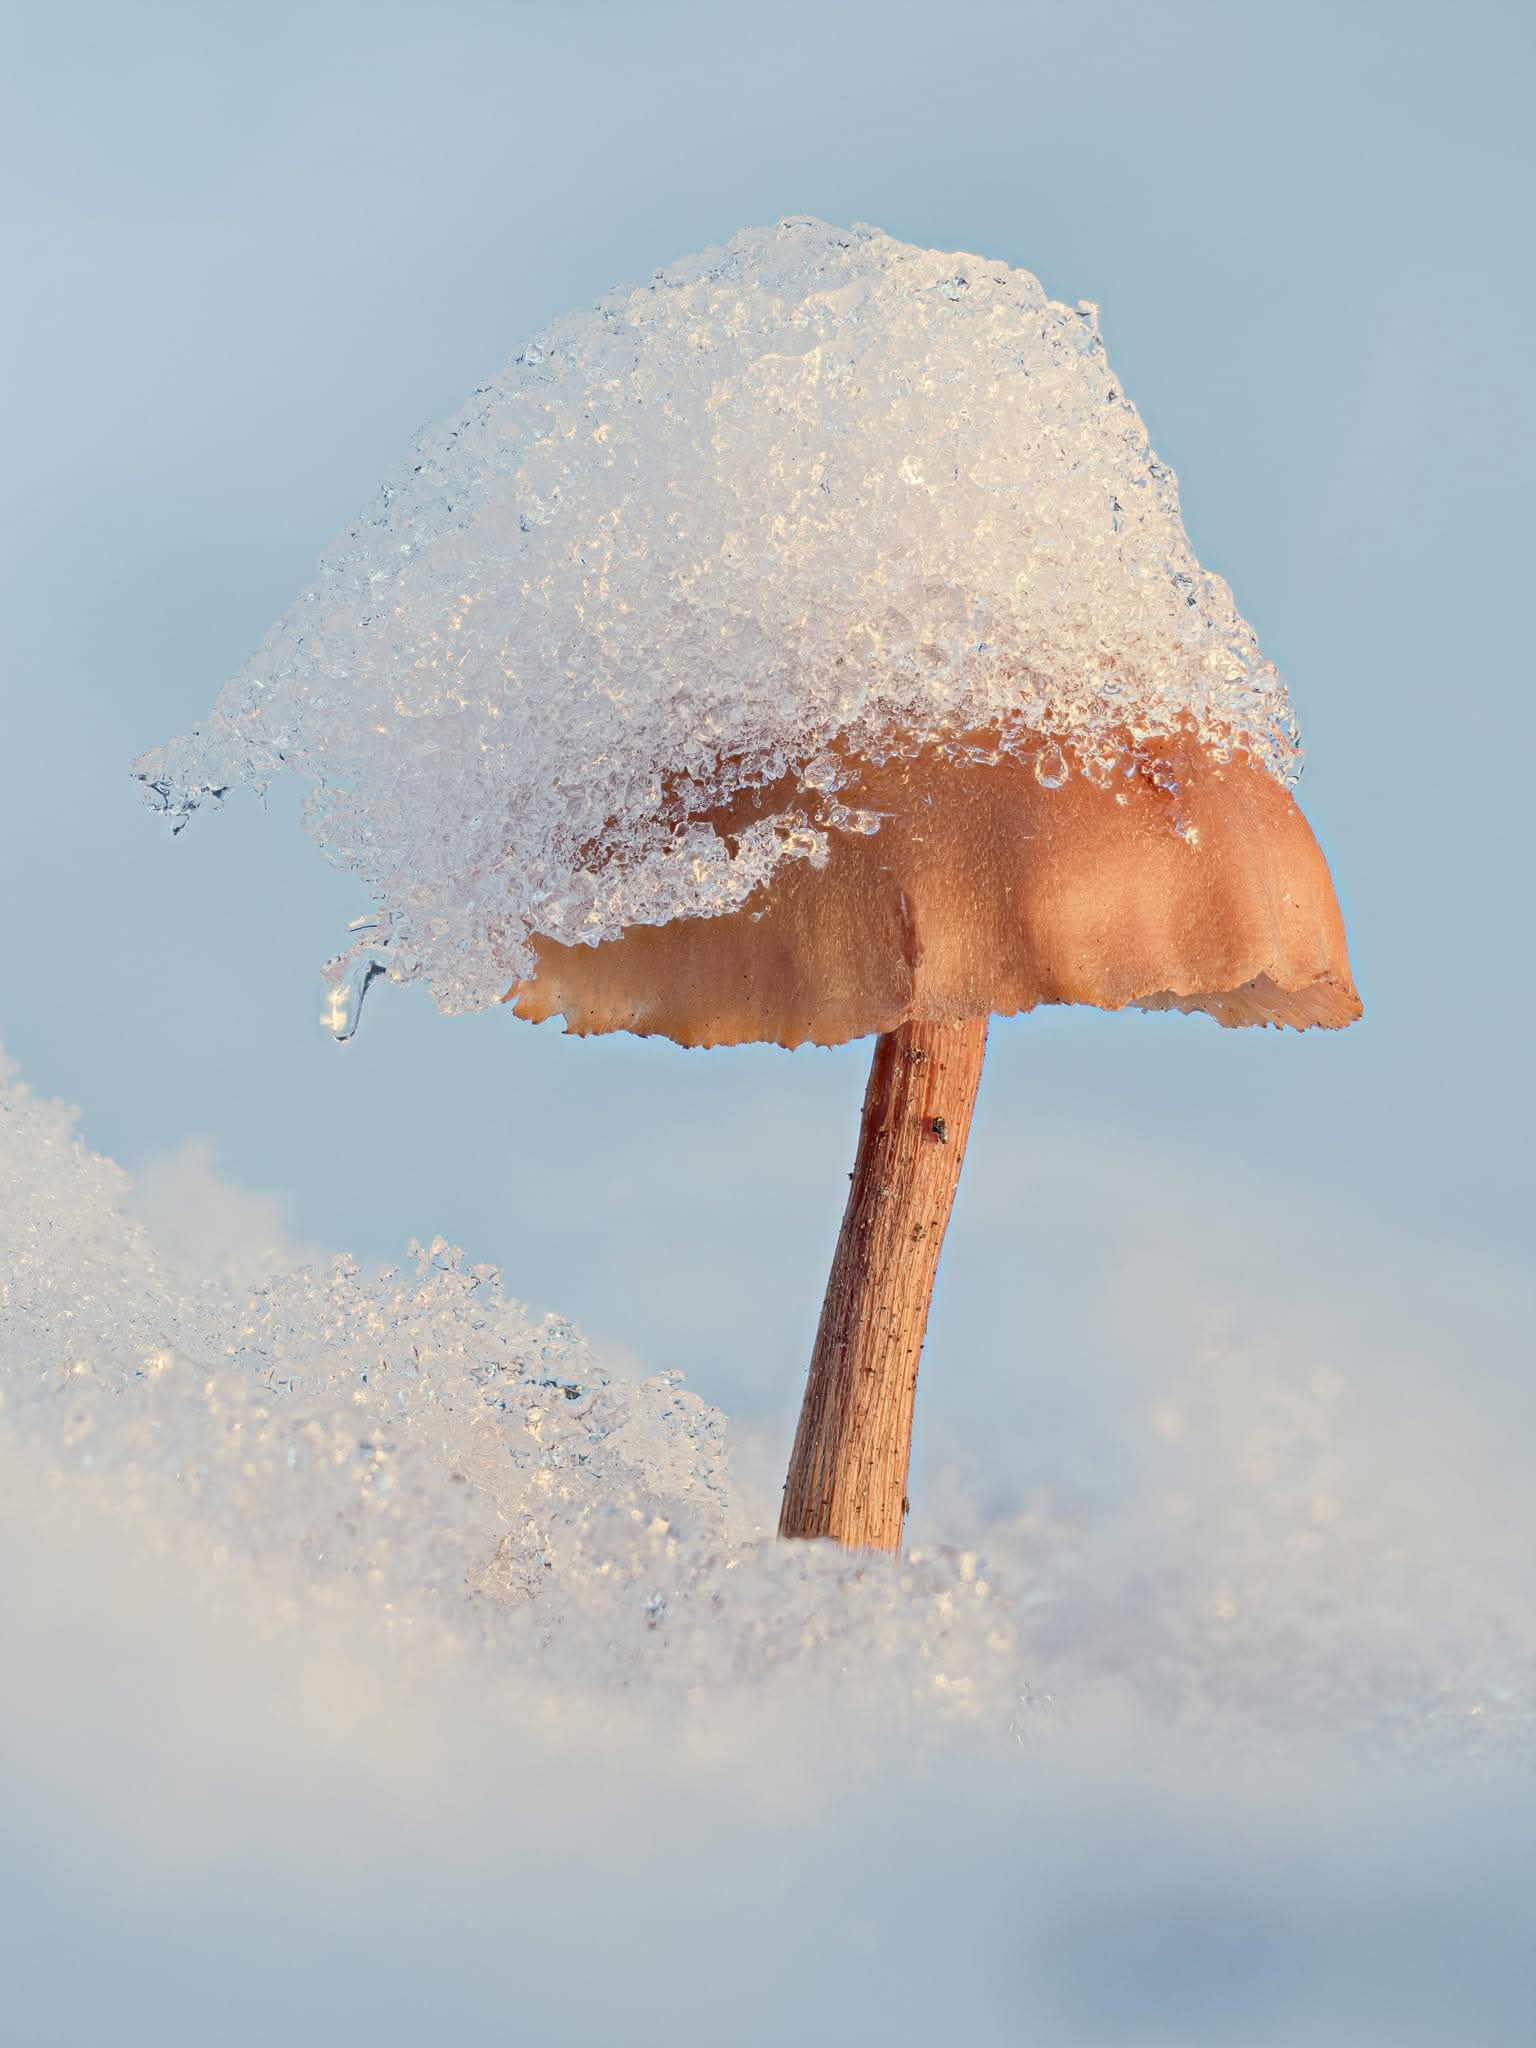
At higher magnifications, depth of field shrinks dramatically. On the 3mm golden hour mushroom from Lesson 2, even F14 would not have got the whole thing sharp.
I switched to manual exposure mode and set the lens to its minimum focusing distance. Then I took a manual focus stack of twelve images while holding the camera in my hand, moving it forward in small steps and taking a picture after each one.
Focus stacking means taking a sequence of images at different focus distances and merging them with software, to make one photo with much greater depth of field. It takes practice and some post-processing skill. Zerene Stacker and Helicon Focus are both great and offer free trials. I use Zerene, simply because I'm used to it.
Step through a real stack
Mushroom family in the snow. 126 frames, in-camera focus bracketing, focus differential 1, F2.8. OM-1 and 60mm, propped on a twig because I didn't have my tripod.
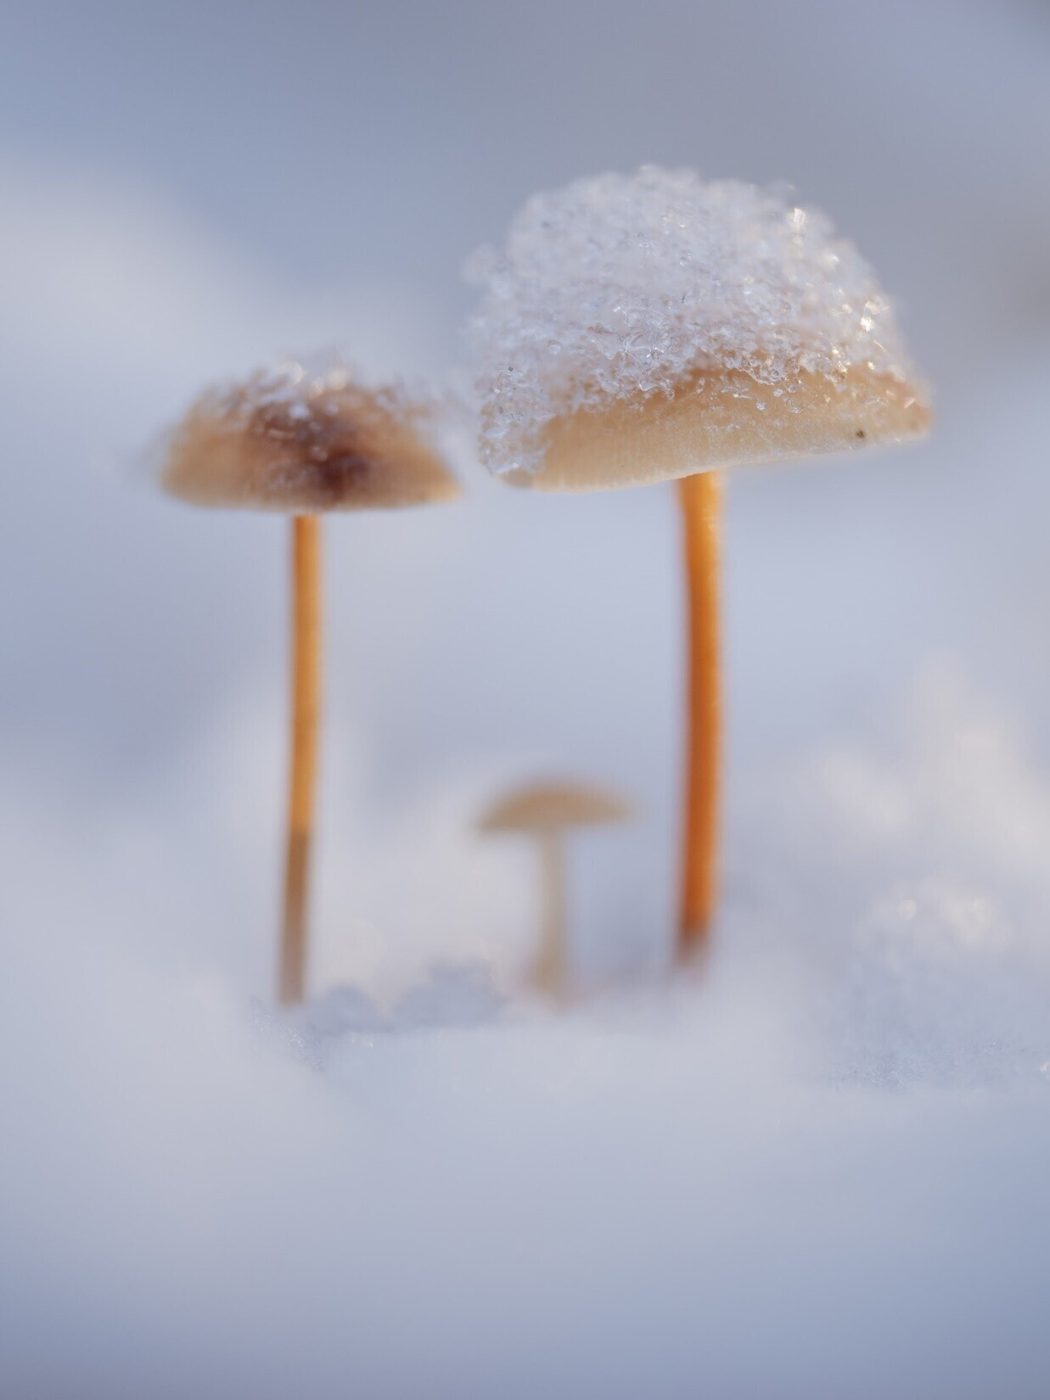
I set far more frames than I need, start just in front of the nearest part of the subject, and stop once the focus has passed the furthest part. I can see the bracketing happening on screen, which is very helpful.
In a nutshell: start and end slightly out of focus, and the likelihood is that everything will work out!
For a low-light stack, a starting point: about 15 frames at 1/50, F2.8 and ISO 800.
| In-camera focus stacking | Focus bracketing | |
|---|---|---|
| Frames | 3 to 15 | Up to 999 |
| Output | Blended JPEG, ready to print or share. The individual RAW files are kept too. | Not blended. You stack them on a computer afterwards. |
| Best for | Quick results, subjects that won't sit still for long | Very deep depth of field. Needs a reasonably powerful computer. Enjoy a hot drink and some biscuits while it runs. |
Both let you set a focus differential, the size of each step. I usually work between 1 and 4 depending on the F-number and subject. Smaller steps suit wider apertures. My OM-1 and OM-1 Mark II both have these built in. I turn off the focus clutch on my pro lenses, because it stops the bracketing and stacking features working properly.
Not using an OM System camera?
The numbers above are for my OM System cameras. Many cameras from other makers have focus bracketing too, sometimes called focus shift, but the names and limits vary, and some cameras don't have it at all. Check your camera's manual. Manual stacking, moving the focus or the camera a little between each frame, works with any camera, including a phone on a steady surface.
Editing isn't covered in this guide, but you'll need it to merge a bracketed stack. Zerene Stacker and Helicon Focus both have step-by-step guides on their websites and free trials. Photoshop and Affinity Photo can also merge a stack.
Single frame or stacked?
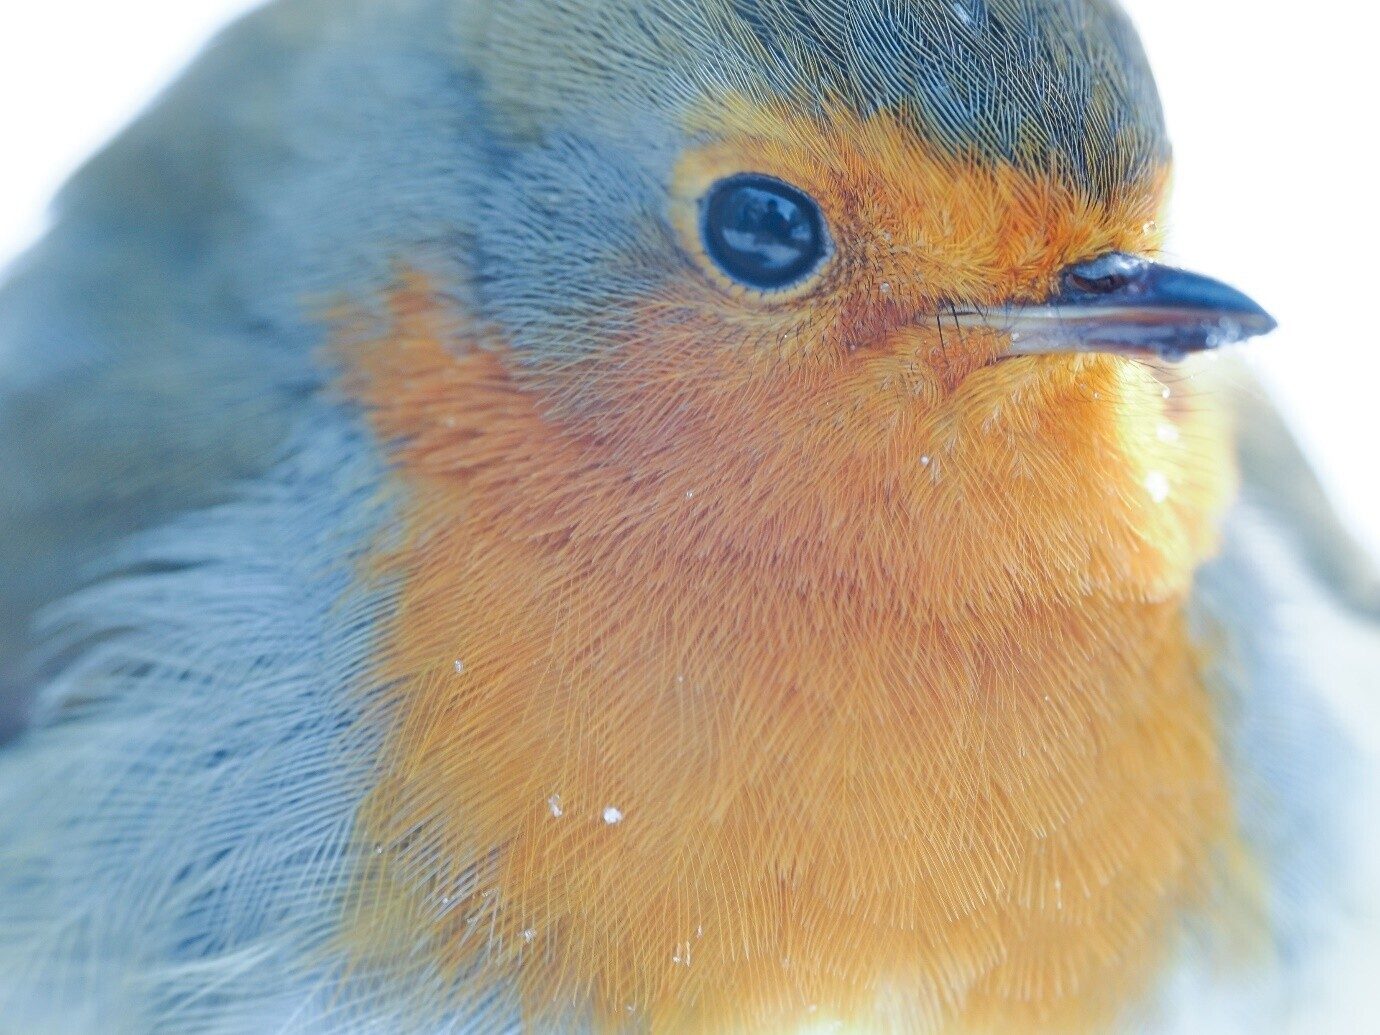
A robin came and stopped right in front of my lens on a snowy walk. I took an in-camera stack of 15, but it moved before all 15 were taken. At home, 8 of the frames worked.
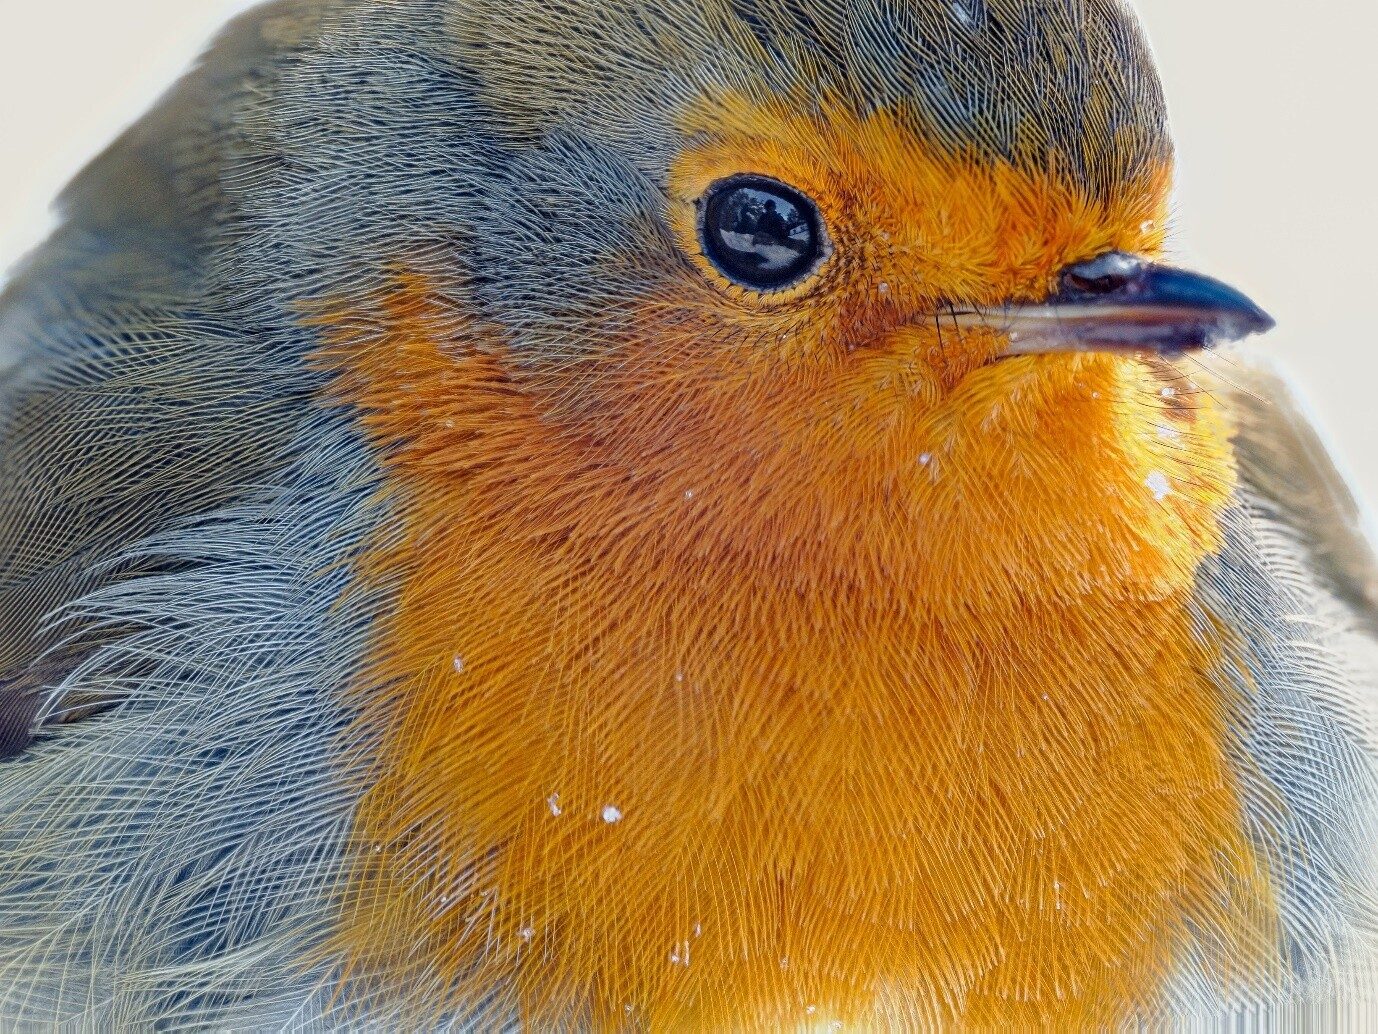 Single frame
Tap the photo or the buttons to switch. Look at the feathers on the chest and shoulder.
Stopping down to F14 would have meant a longer shutter speed and more risk of blur, or a high ISO and more grain. My reflection in its eye shows how close and trusting the robin had been.
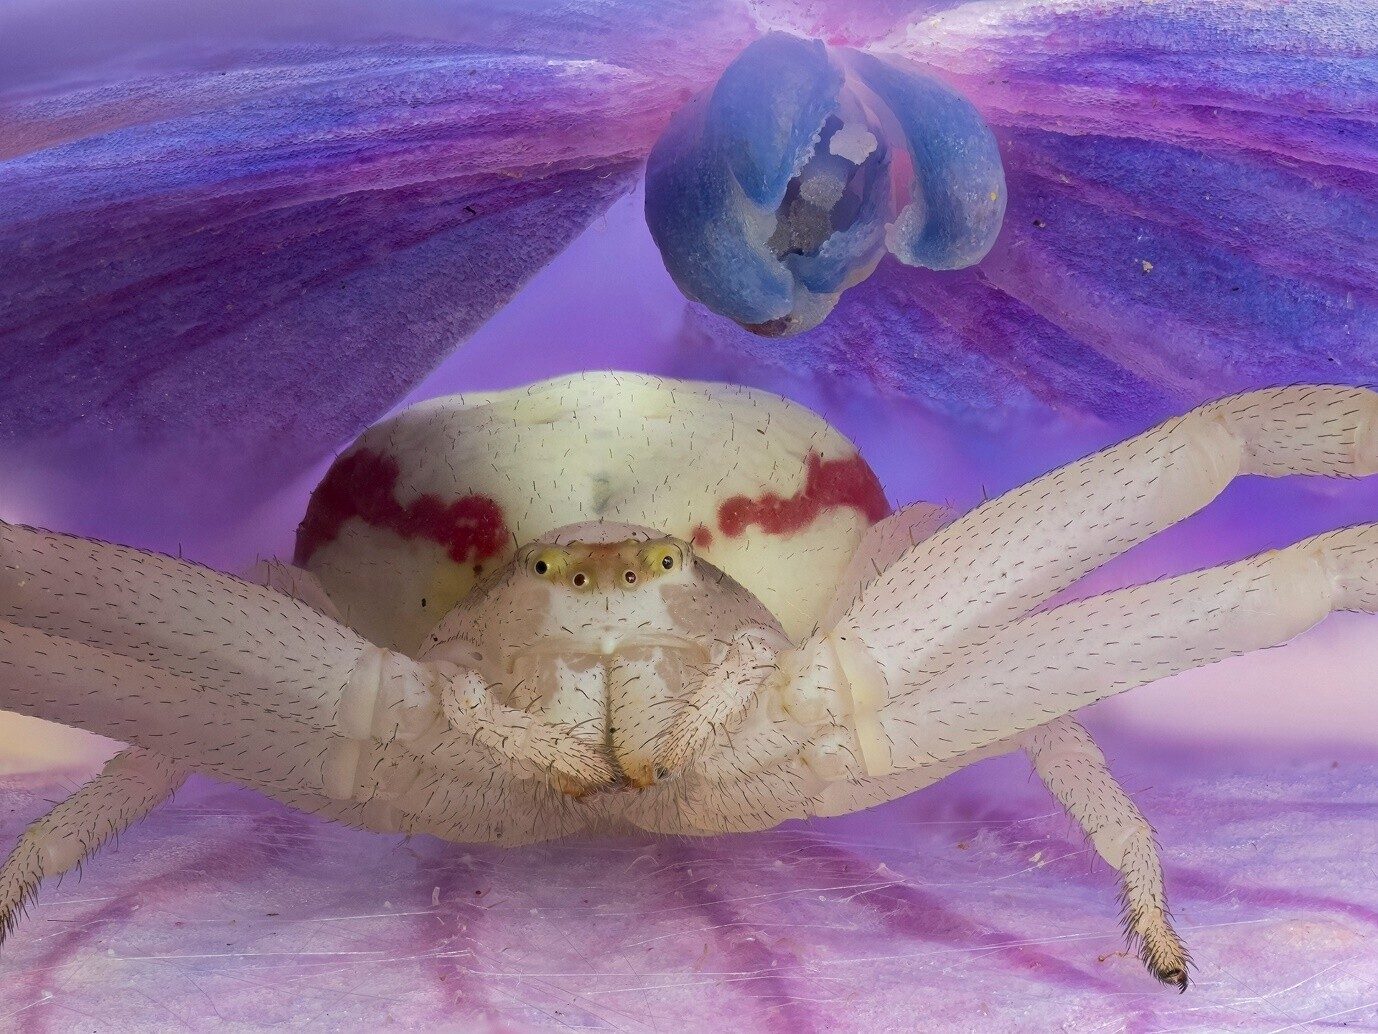
You can also stack manually. With the camera secured, ideally on a tripod, change the focus between each frame, or set the lens to its minimum focus distance and move the camera forward in small steps. Make sure each image overlaps. Starting at a smaller F-number reduces the margin for error. A focusing rail could help too, though I have no experience with one.
Stacking also lets you avoid the diffraction that comes with very small apertures, which is another reason it's worth learning.
Lesson 8
Working with flash
Flash takes some practice, but the results are rewarding and it's a different way of shooting from everything so far.
Diffusion is key. Much like clouds soften sunlight, a good diffuser softens the light and protects the highlights. I use the Cygnustech diffuser. Flash lets us shoot at much smaller apertures with lower ISO, which makes it ideal for hand-held, single-shot images. It acts like a strobe light at a disco and freezes movement.
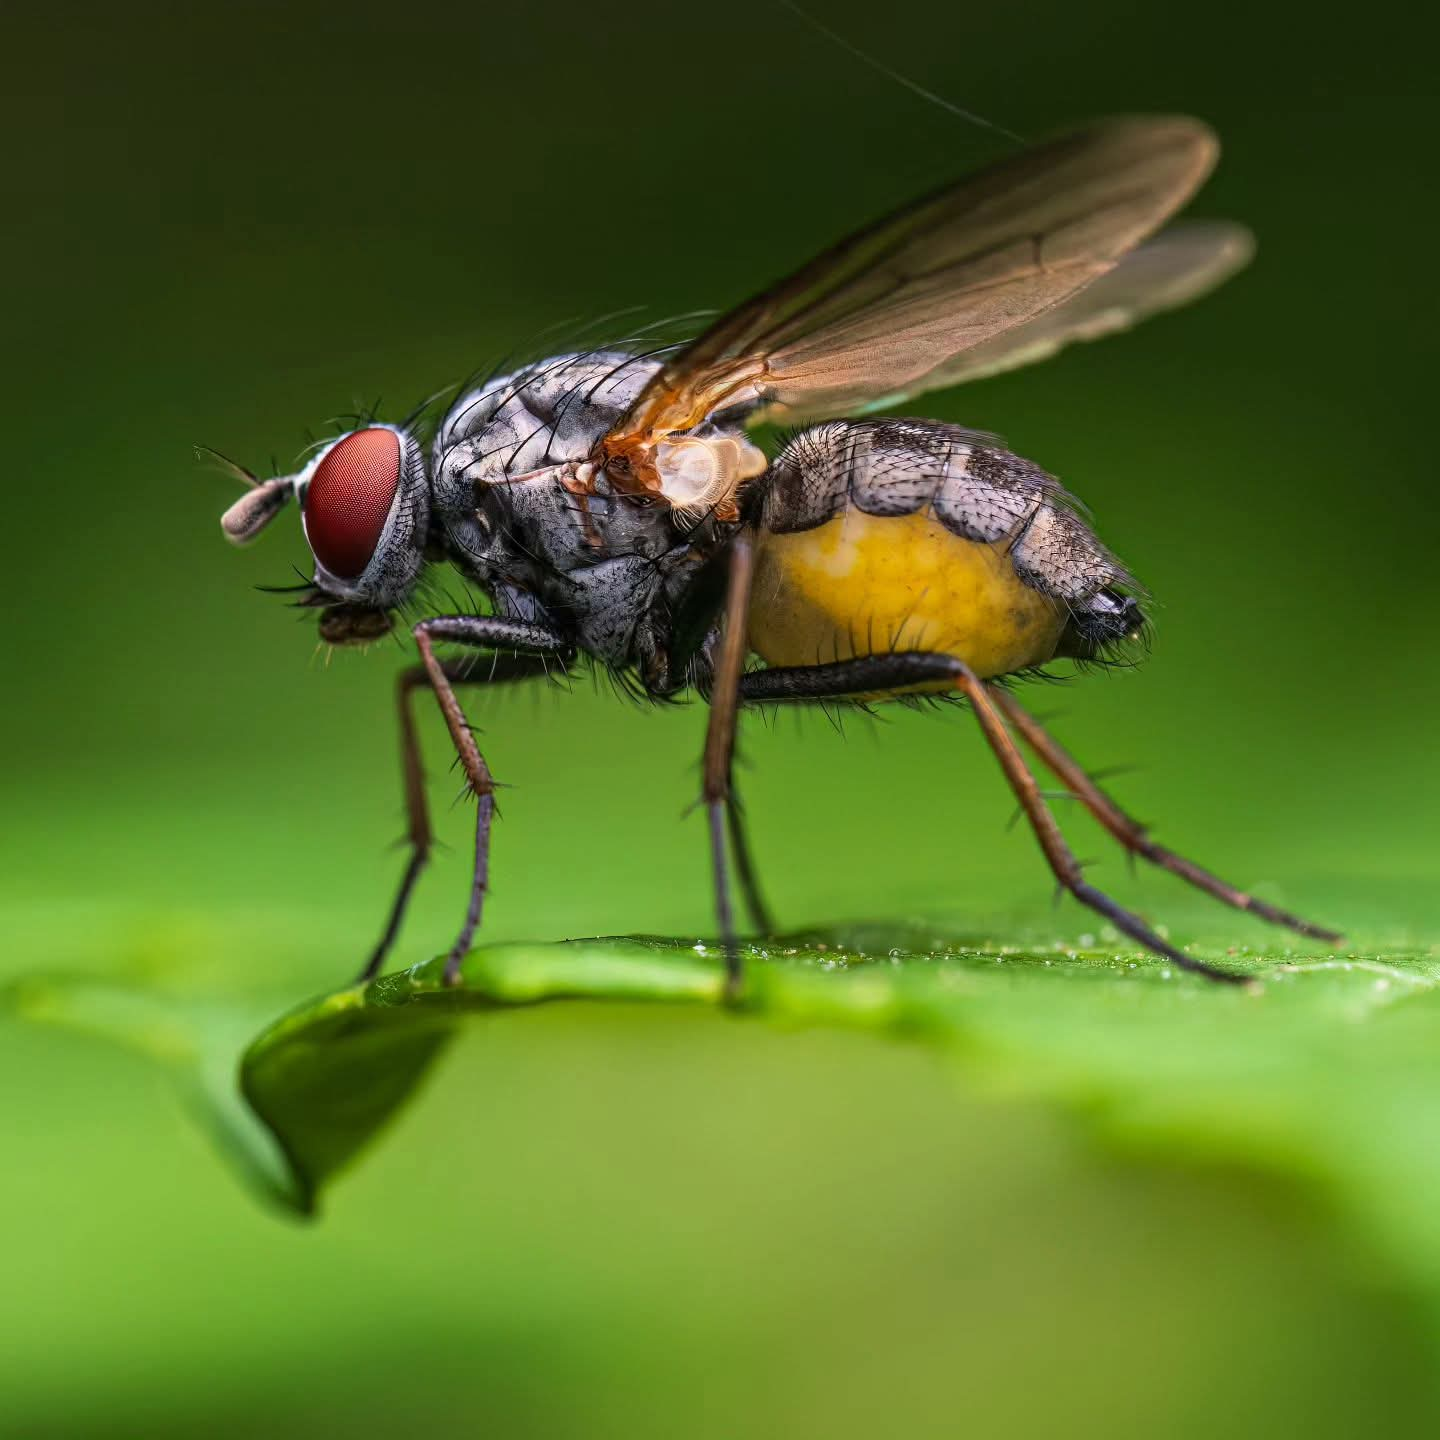
My flash starting point
There are many ways to shoot macro, but these work for me. Manual exposure mode, manual focus.
| Flash power | 1/32 to 1/16 |
| Shutter speed | 1/50 to 1/250 |
| Aperture | F3.5 to F14 |
| ISO | 200 to 1600 |
Flash power is set on the flash itself. The camera's exposure settings control the ambient light. Get parallel to the subject to make the most of your depth of field.
Why stop at 1/250? Most cameras can only fire a normal flash up to a certain shutter speed, called the sync speed. On my OM-1 it's 1/250. Go faster and part of the frame can come out dark, unless your flash has a high-speed sync mode. Check your own camera's sync speed in its manual.
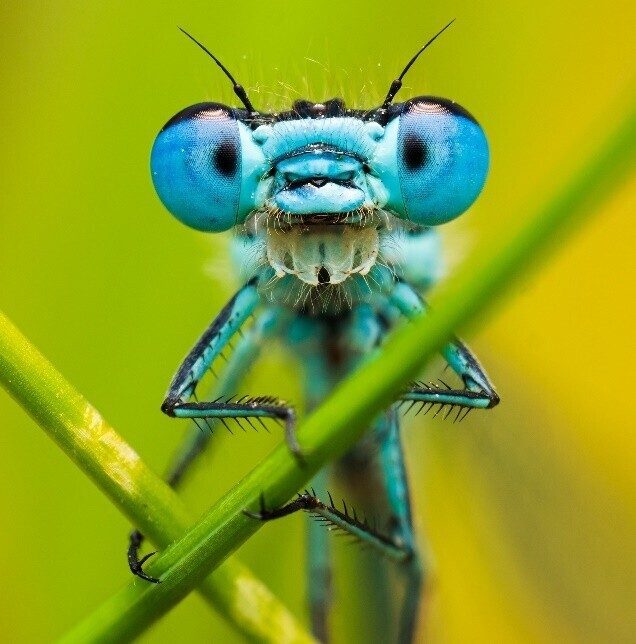
Ambient weighted or flash weighted?
I use these two terms to decide how to approach a picture in the field.
Lesson 9
Behind the images
Now let's put everything into practice. For each photo, make a guess first, then open the story. Pay close attention to how the images are composed, which way the subject faces, the colours, the background and where the light comes from. Combinations of these are the key to images with impact.
You'll notice the same few skills turning up again and again, mixed in different ways. That's the fun of it: every skill you learn opens the door to more pictures.
In the interest of being open: every photo in Wildheart is a processed RAW file. Processing is an art form in itself, and editing isn't covered here. So if your pictures don't pop as much straight out of the camera, that's completely normal.
Lesson 10
Your local patch
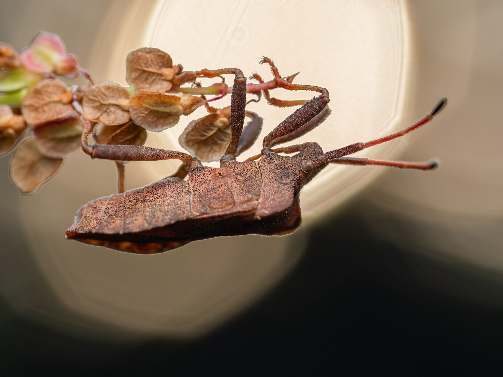
These pictures show the advantage of having a nearby location. By visiting the same spot regularly, we learn where the creatures are and where the sun sets. That lets us plan our visits and make the most of the best conditions, even if it's only for an hour or two.
If you have a garden, think about letting a corner of it go wild. I deliberately left mine to go wild: partly due to laziness, mostly because as a photographer I want as many subjects as possible on my doorstep, every day.
For city folk and those without gardens, your local country parks and areas of natural beauty are a goldmine for photography. And there are gardens everywhere: one of my favourite pictures was taken in the garden of a lodge in the Amazon. Here are all the outdoor tasks in one place. Tick them off as you go; they're saved on your phone only.
If you've been lying in long grass or bracken, check yourself for ticks when you get home.
Before you head out
Check the two things that have no workaround: a charged battery and a memory card. Forget a lens or a tripod and you can still make do: shoot wider, rest the camera on a rock. No battery or card, and the day's over before it starts.
Keep track of your things as you go. Set your bag down, note where. It saves the frantic march back up a hill for the bag you left propped against a tree an hour ago.
Keep going
Six months of shooting often will do more for you than owning a camera for ten years and lifting it now and then. It's the doing that teaches, not the time passing. And it won't take as long as you imagine.
The commonest mistake isn't technical at all. It's the pressure we pile on ourselves to be further along than we are. Ease off yourself, and you'll learn faster than if you push.
There are no failed photographs. The early, wobbly ones hold the very recipe for the pictures you'll come to love.
The more skills you pick up, the more prepared you are for whatever subject or opportunity comes your way. I like to use natural light, flash, LED lights and, for most of my mushroom pictures, the torch on my phone: whatever's at hand. Blending skills together means no two pictures are the same. It keeps things fun, keeps us learning, gives our portfolio its own character, and means we have more to offer when we share our pictures with others.
You don't have to learn alone, either. Camera clubs, events at your local camera shop, trade shows and day workshops out in the field are all worth a look, and camera brands often run cheap or even free days. The pictures are lovely, but the company is half the joy.
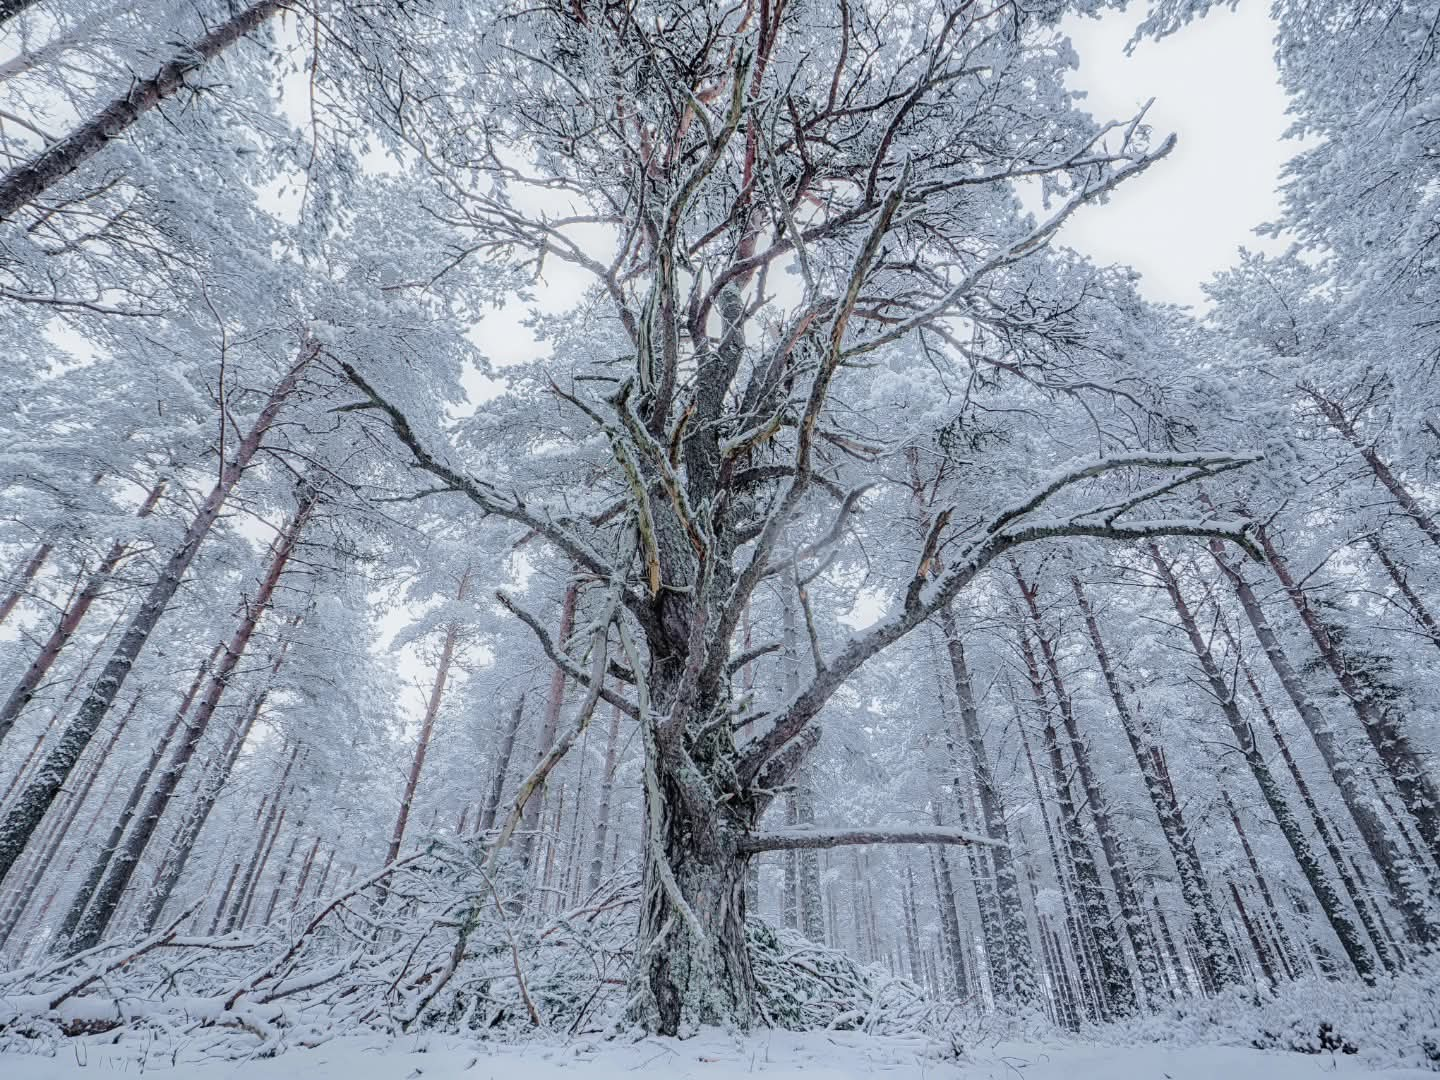
On my photo walks, whether I'm looking for bugs, animals, birds, plants or fungi, I'm surrounded by trees. Every now and then you find one that stands out, and I tend to revisit those, even if it's just for a cup of tea, a biscuit and a sit down.
On this day I had my full kit bag with me, including my 8mm lens, and the whole scene looked incredible. I got down to ground level, almost a bug's eye view, and photographed the tree with the ultra wide angle lens. I made sure I didn't cut off any of the branches, kept the horizon lines level, and pointed upwards to make the tree look monumental.
I often visit trees again. They're like old friends.
Photography is a lovely way to spend time outdoors and explore our local areas. I encourage everyone to give it a try, regardless of the gear we have at hand.
Thank you for reading this, and have fun with your photography journey!
From one wild heart to another.